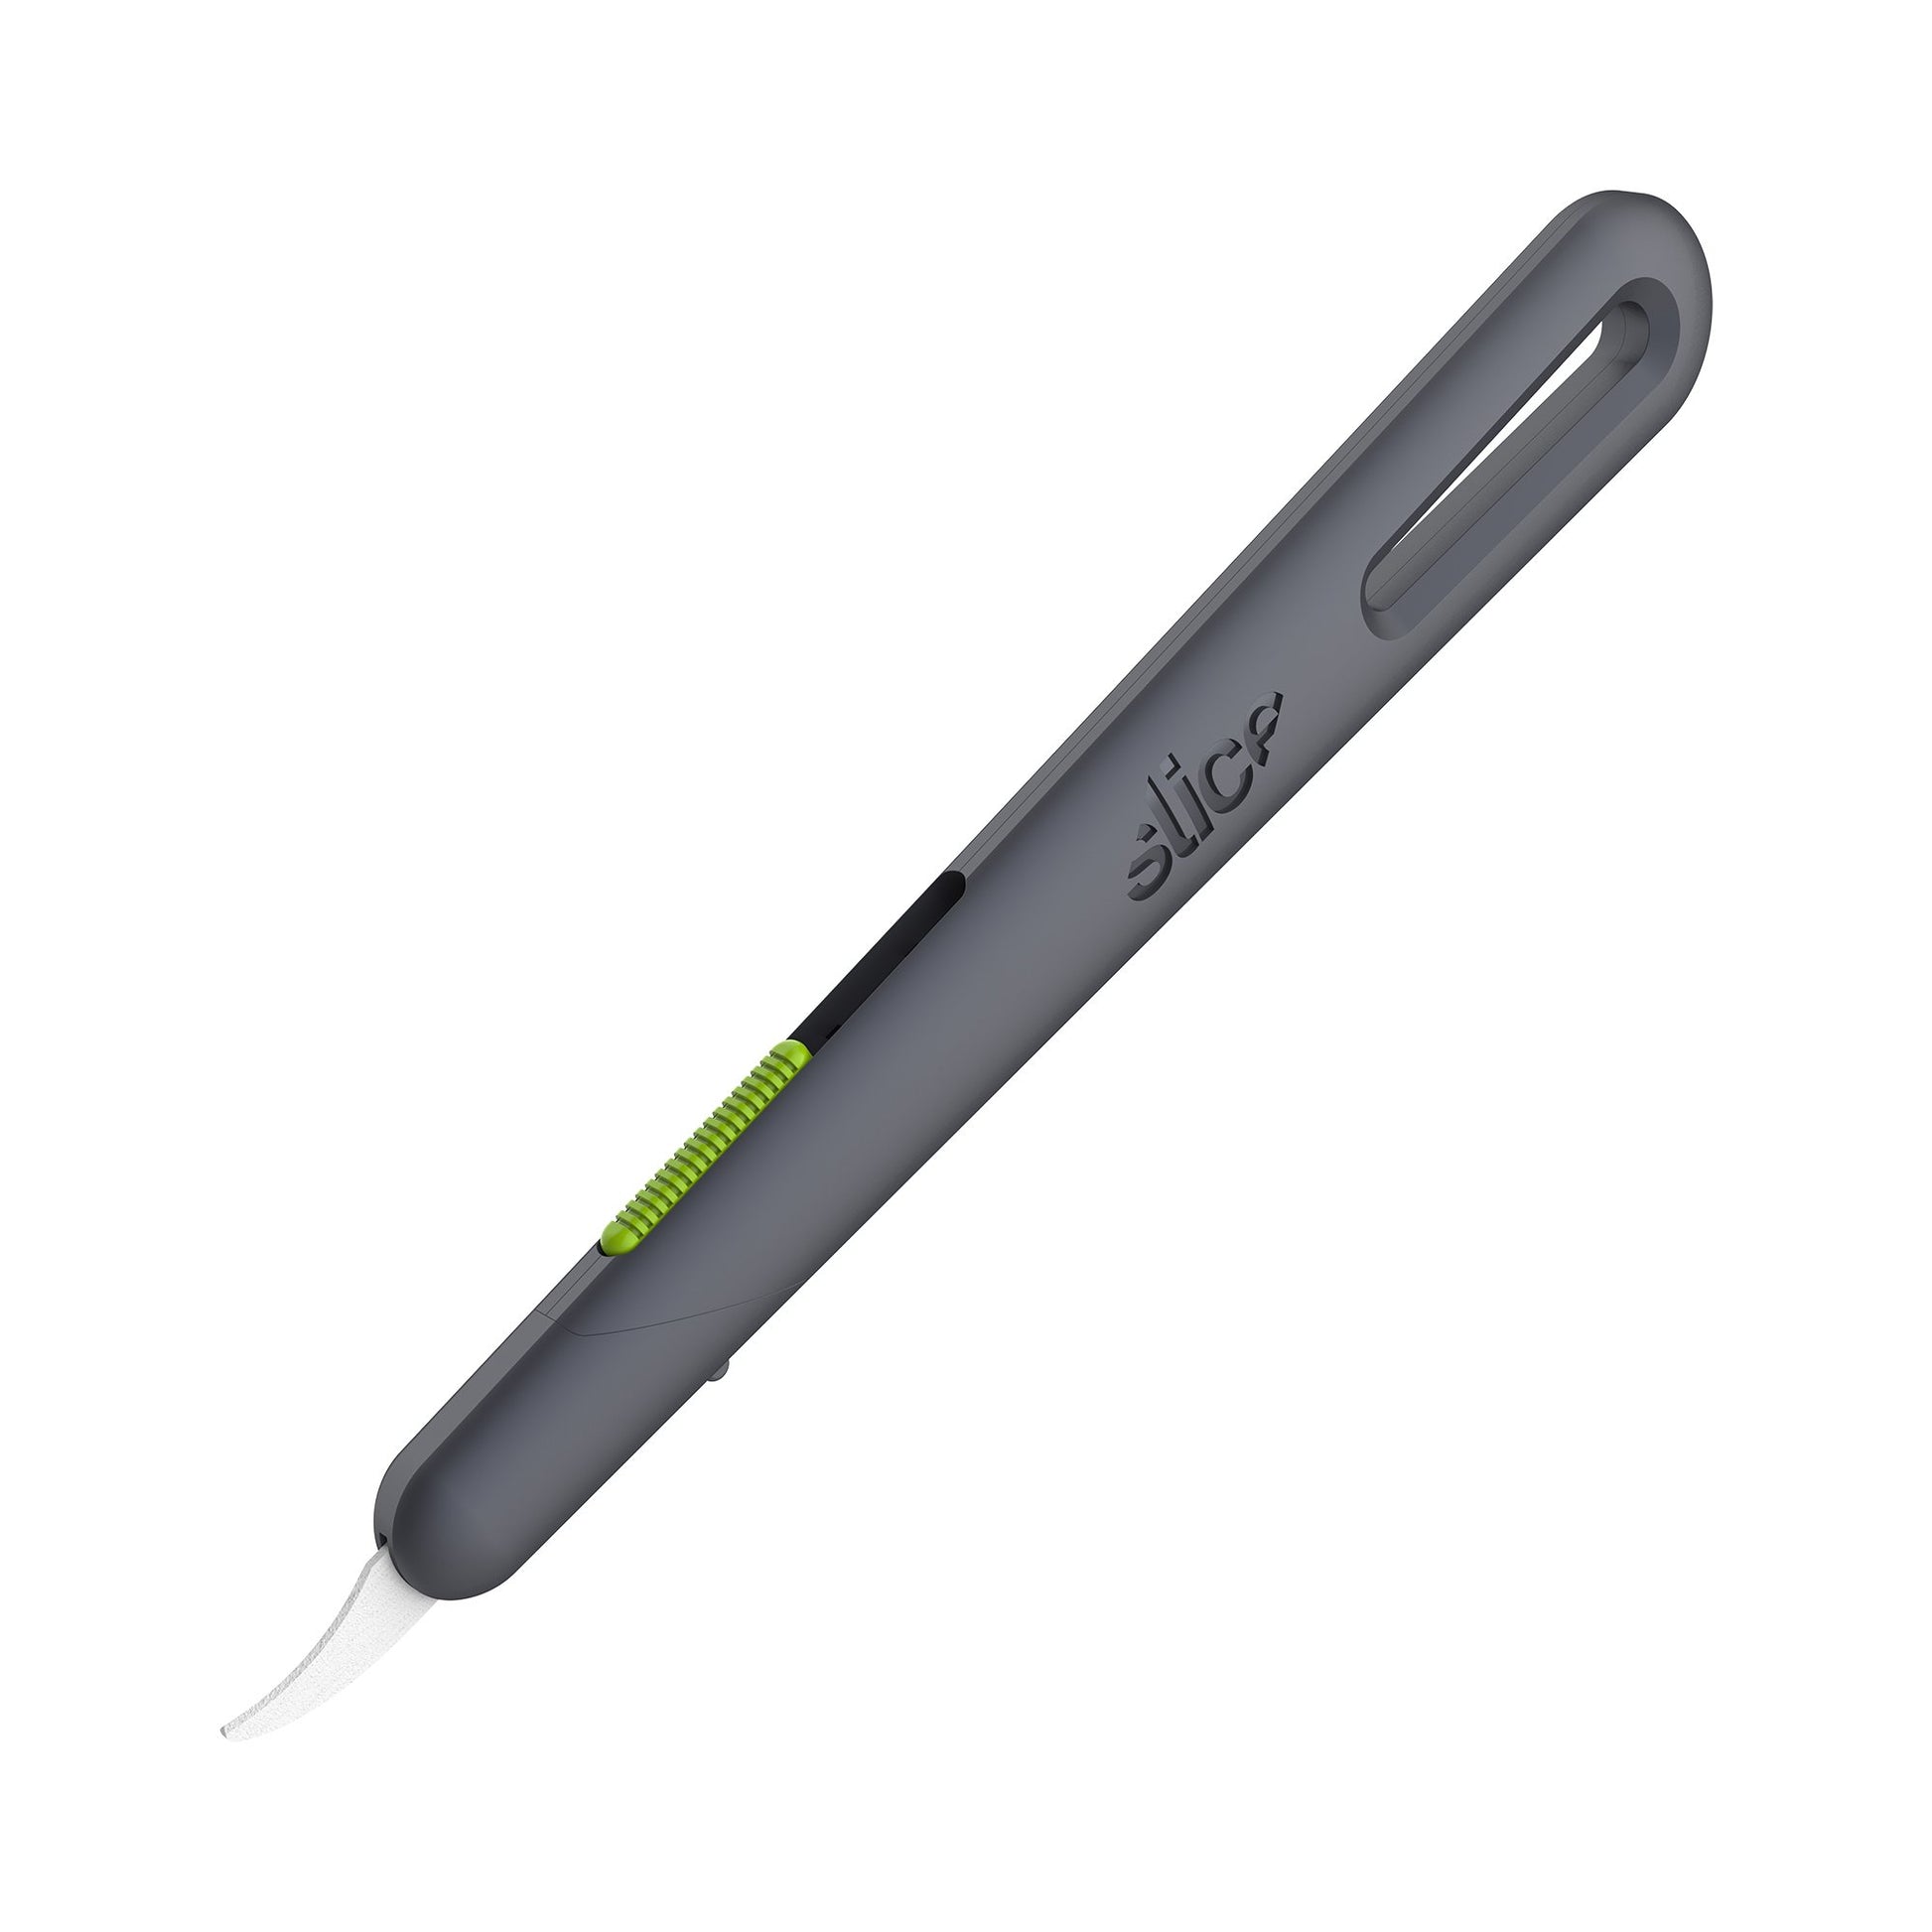
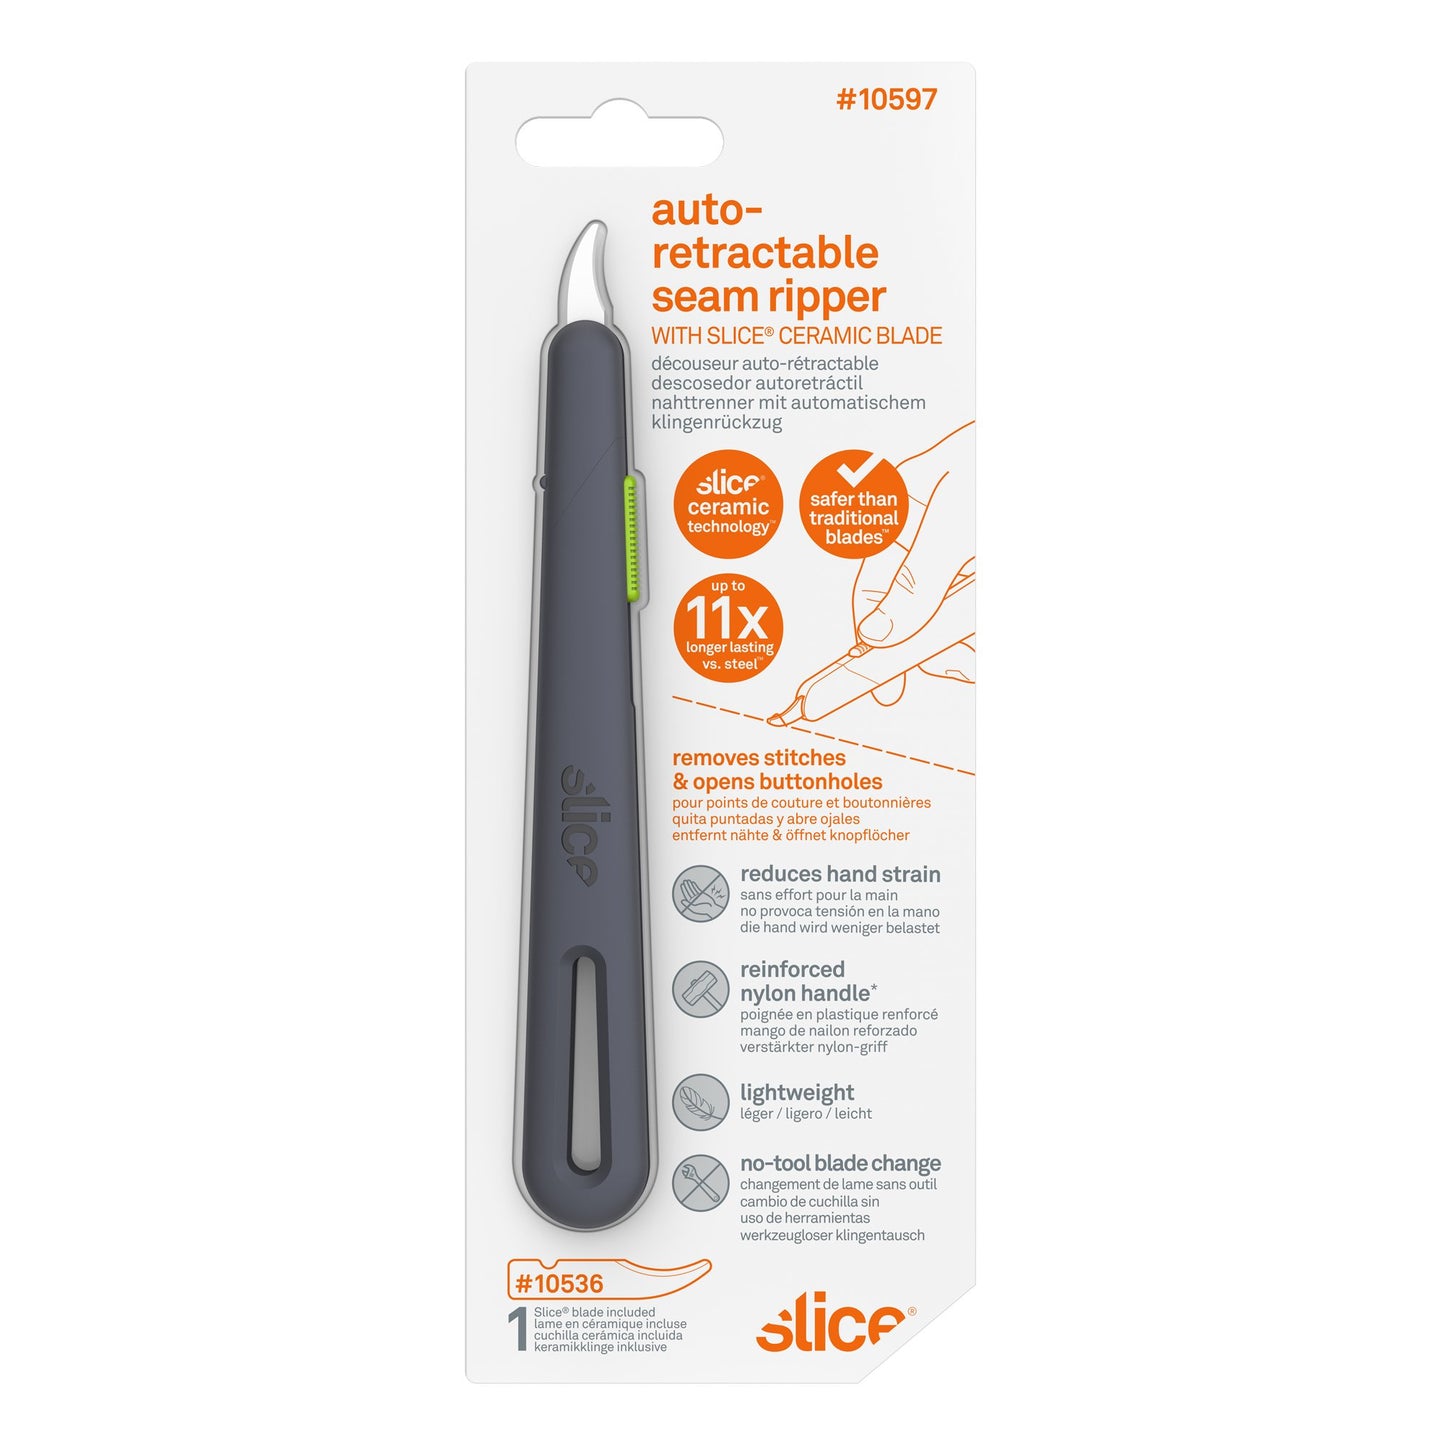
Découseur auto-rétractable
SKU #10597
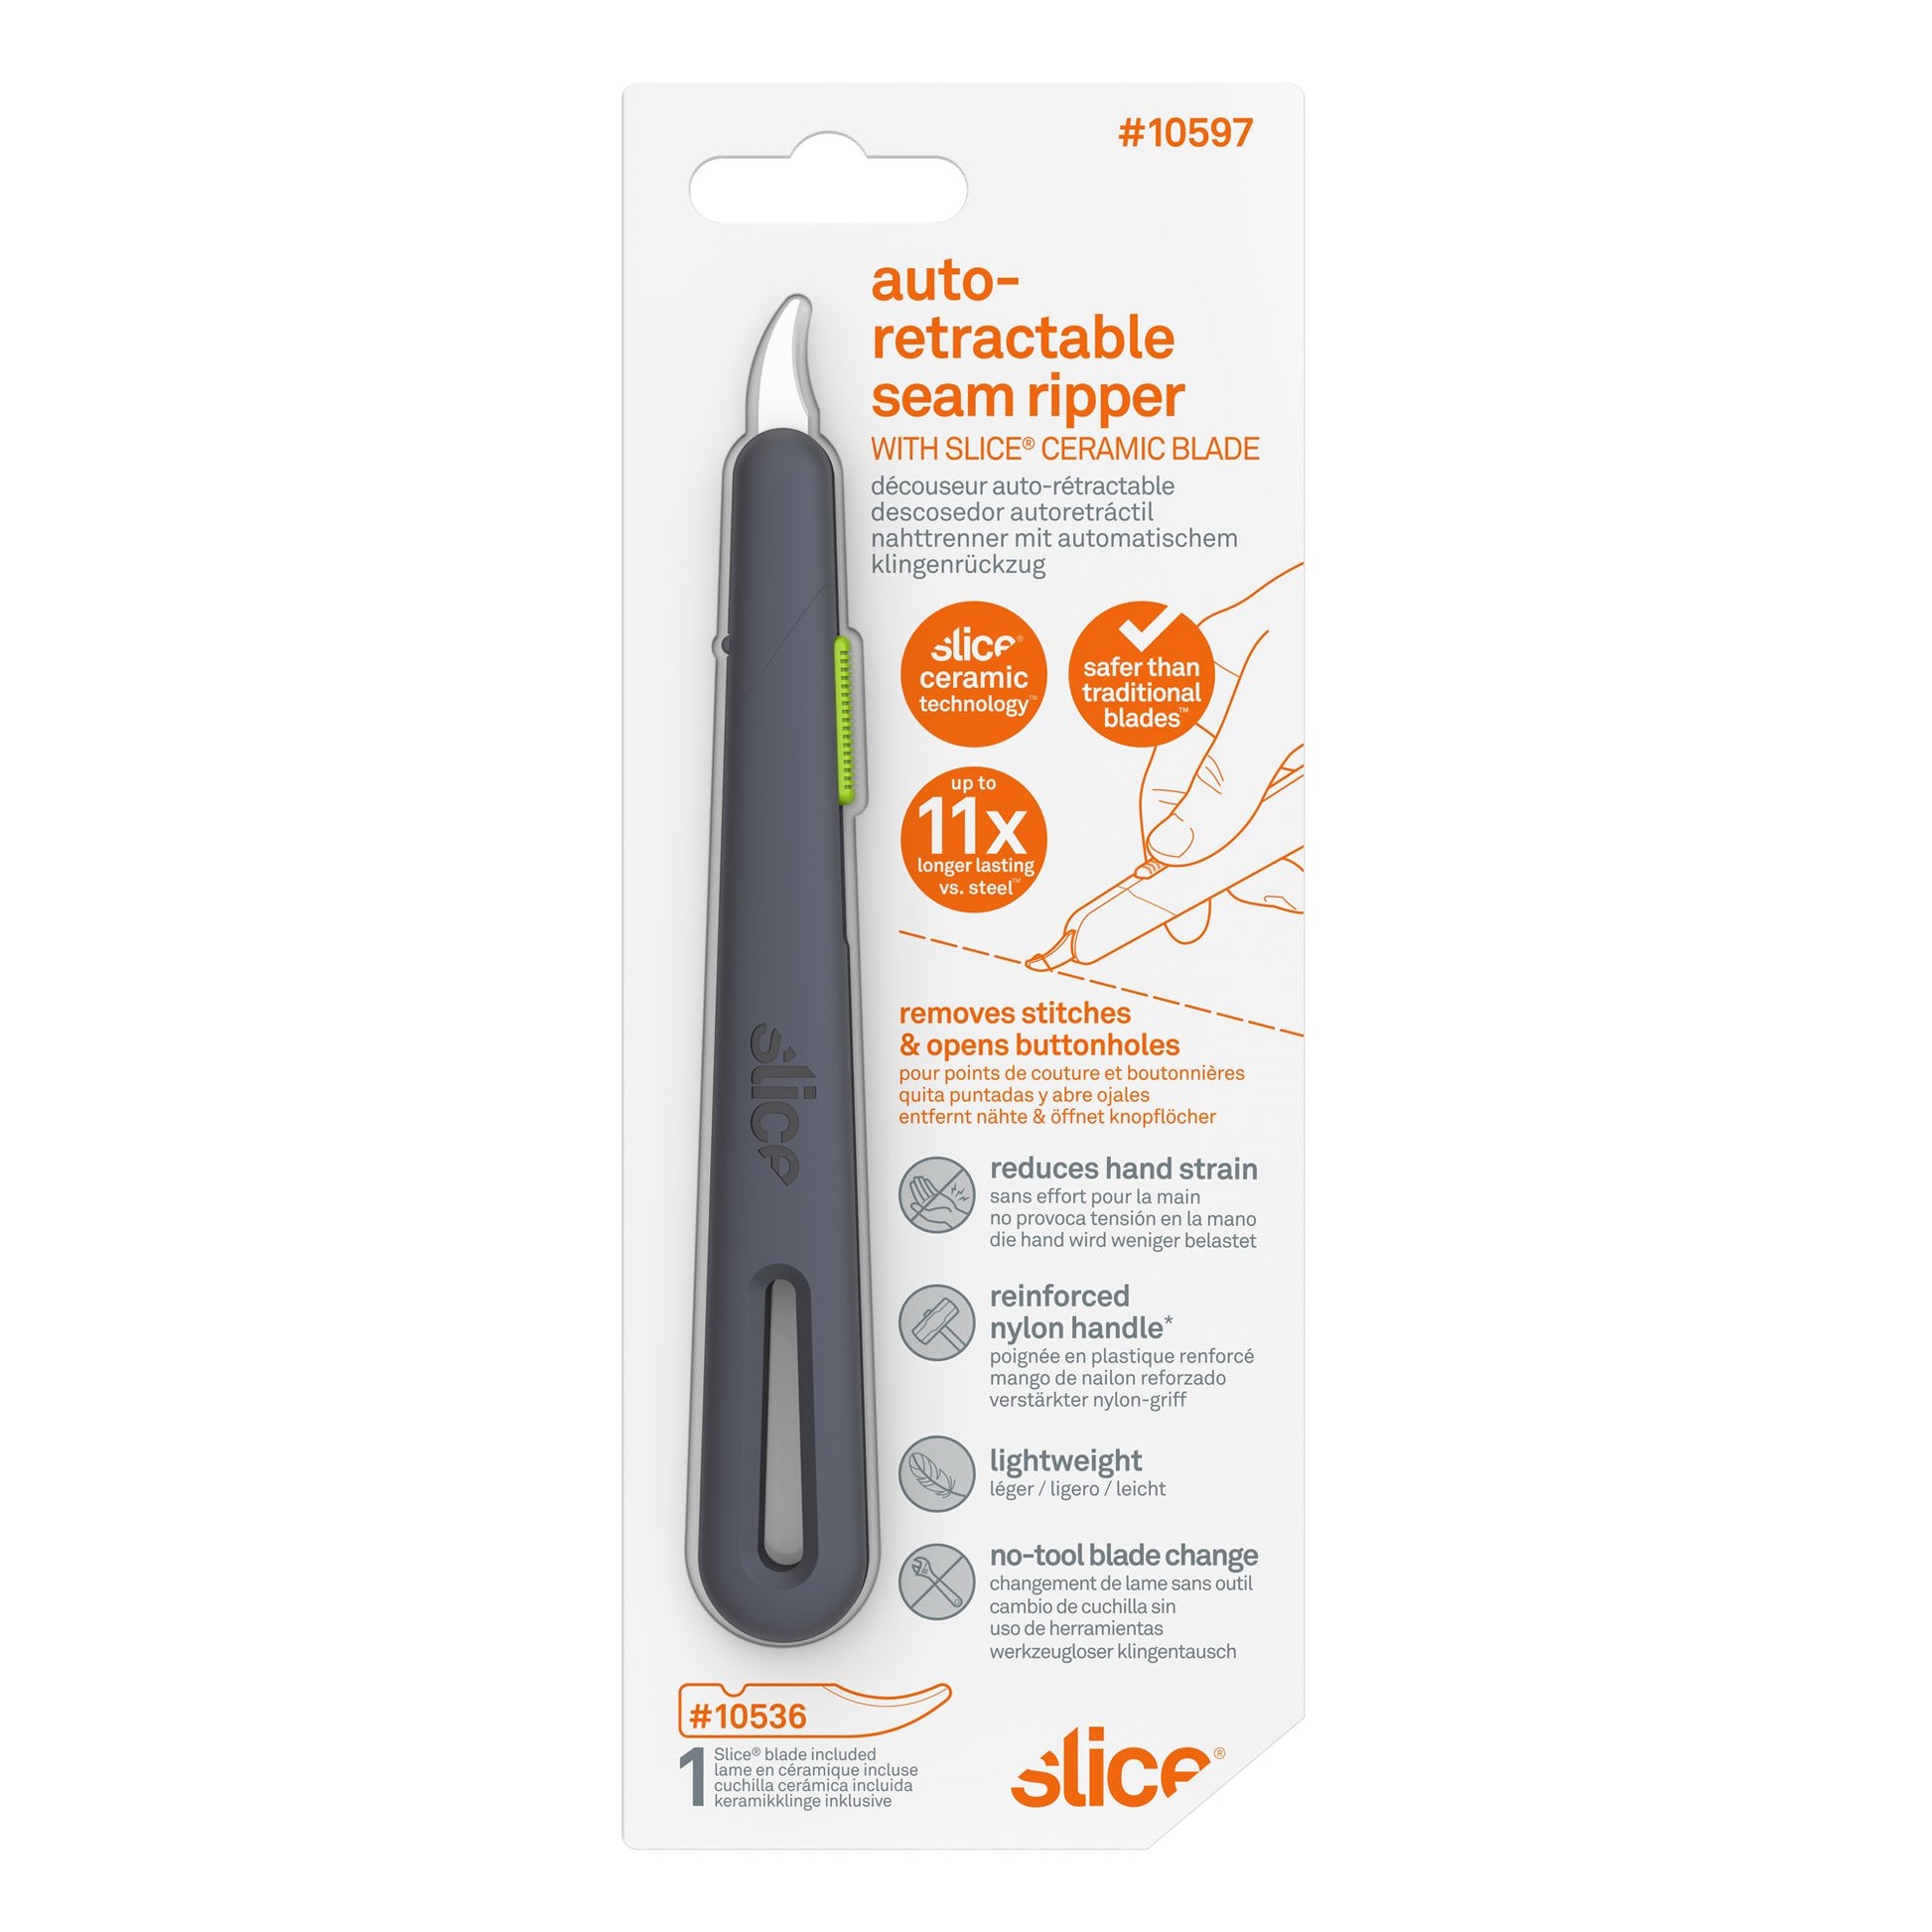
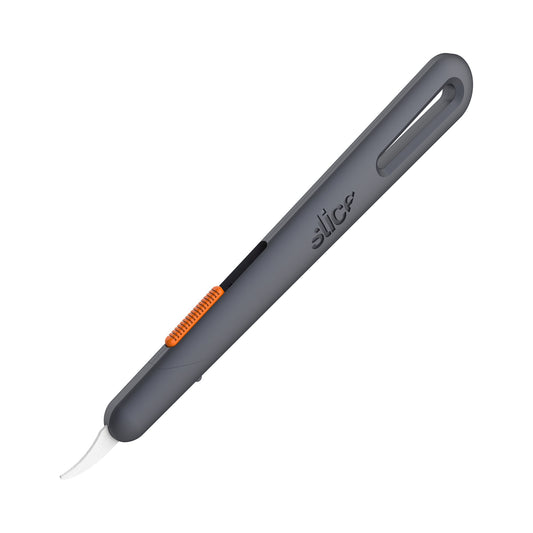
Le Découseur auto-rétractable Slice® 10597 est idéal pour les industries où les lames fixes sont interdites, ou pour quiconque cherchant une alternative plus sûre à un découseur manuel. Alors que des découseurs à lames rétractables sont disponibles sur le marché, Slice introduit la première version de découseur à lame en céramique technique Slice®. Et parce que les lames sont des lames de sécurité en céramique Slice®, elles sont dotées d'un tranchant finger-friendly®. Le manche du découseur Slice est long et mince. Il est conçu en plastique durable renforcé de fibre de verre. Le manche est compatible avec les lames de découseur au bout arrondi et au bout pointu.
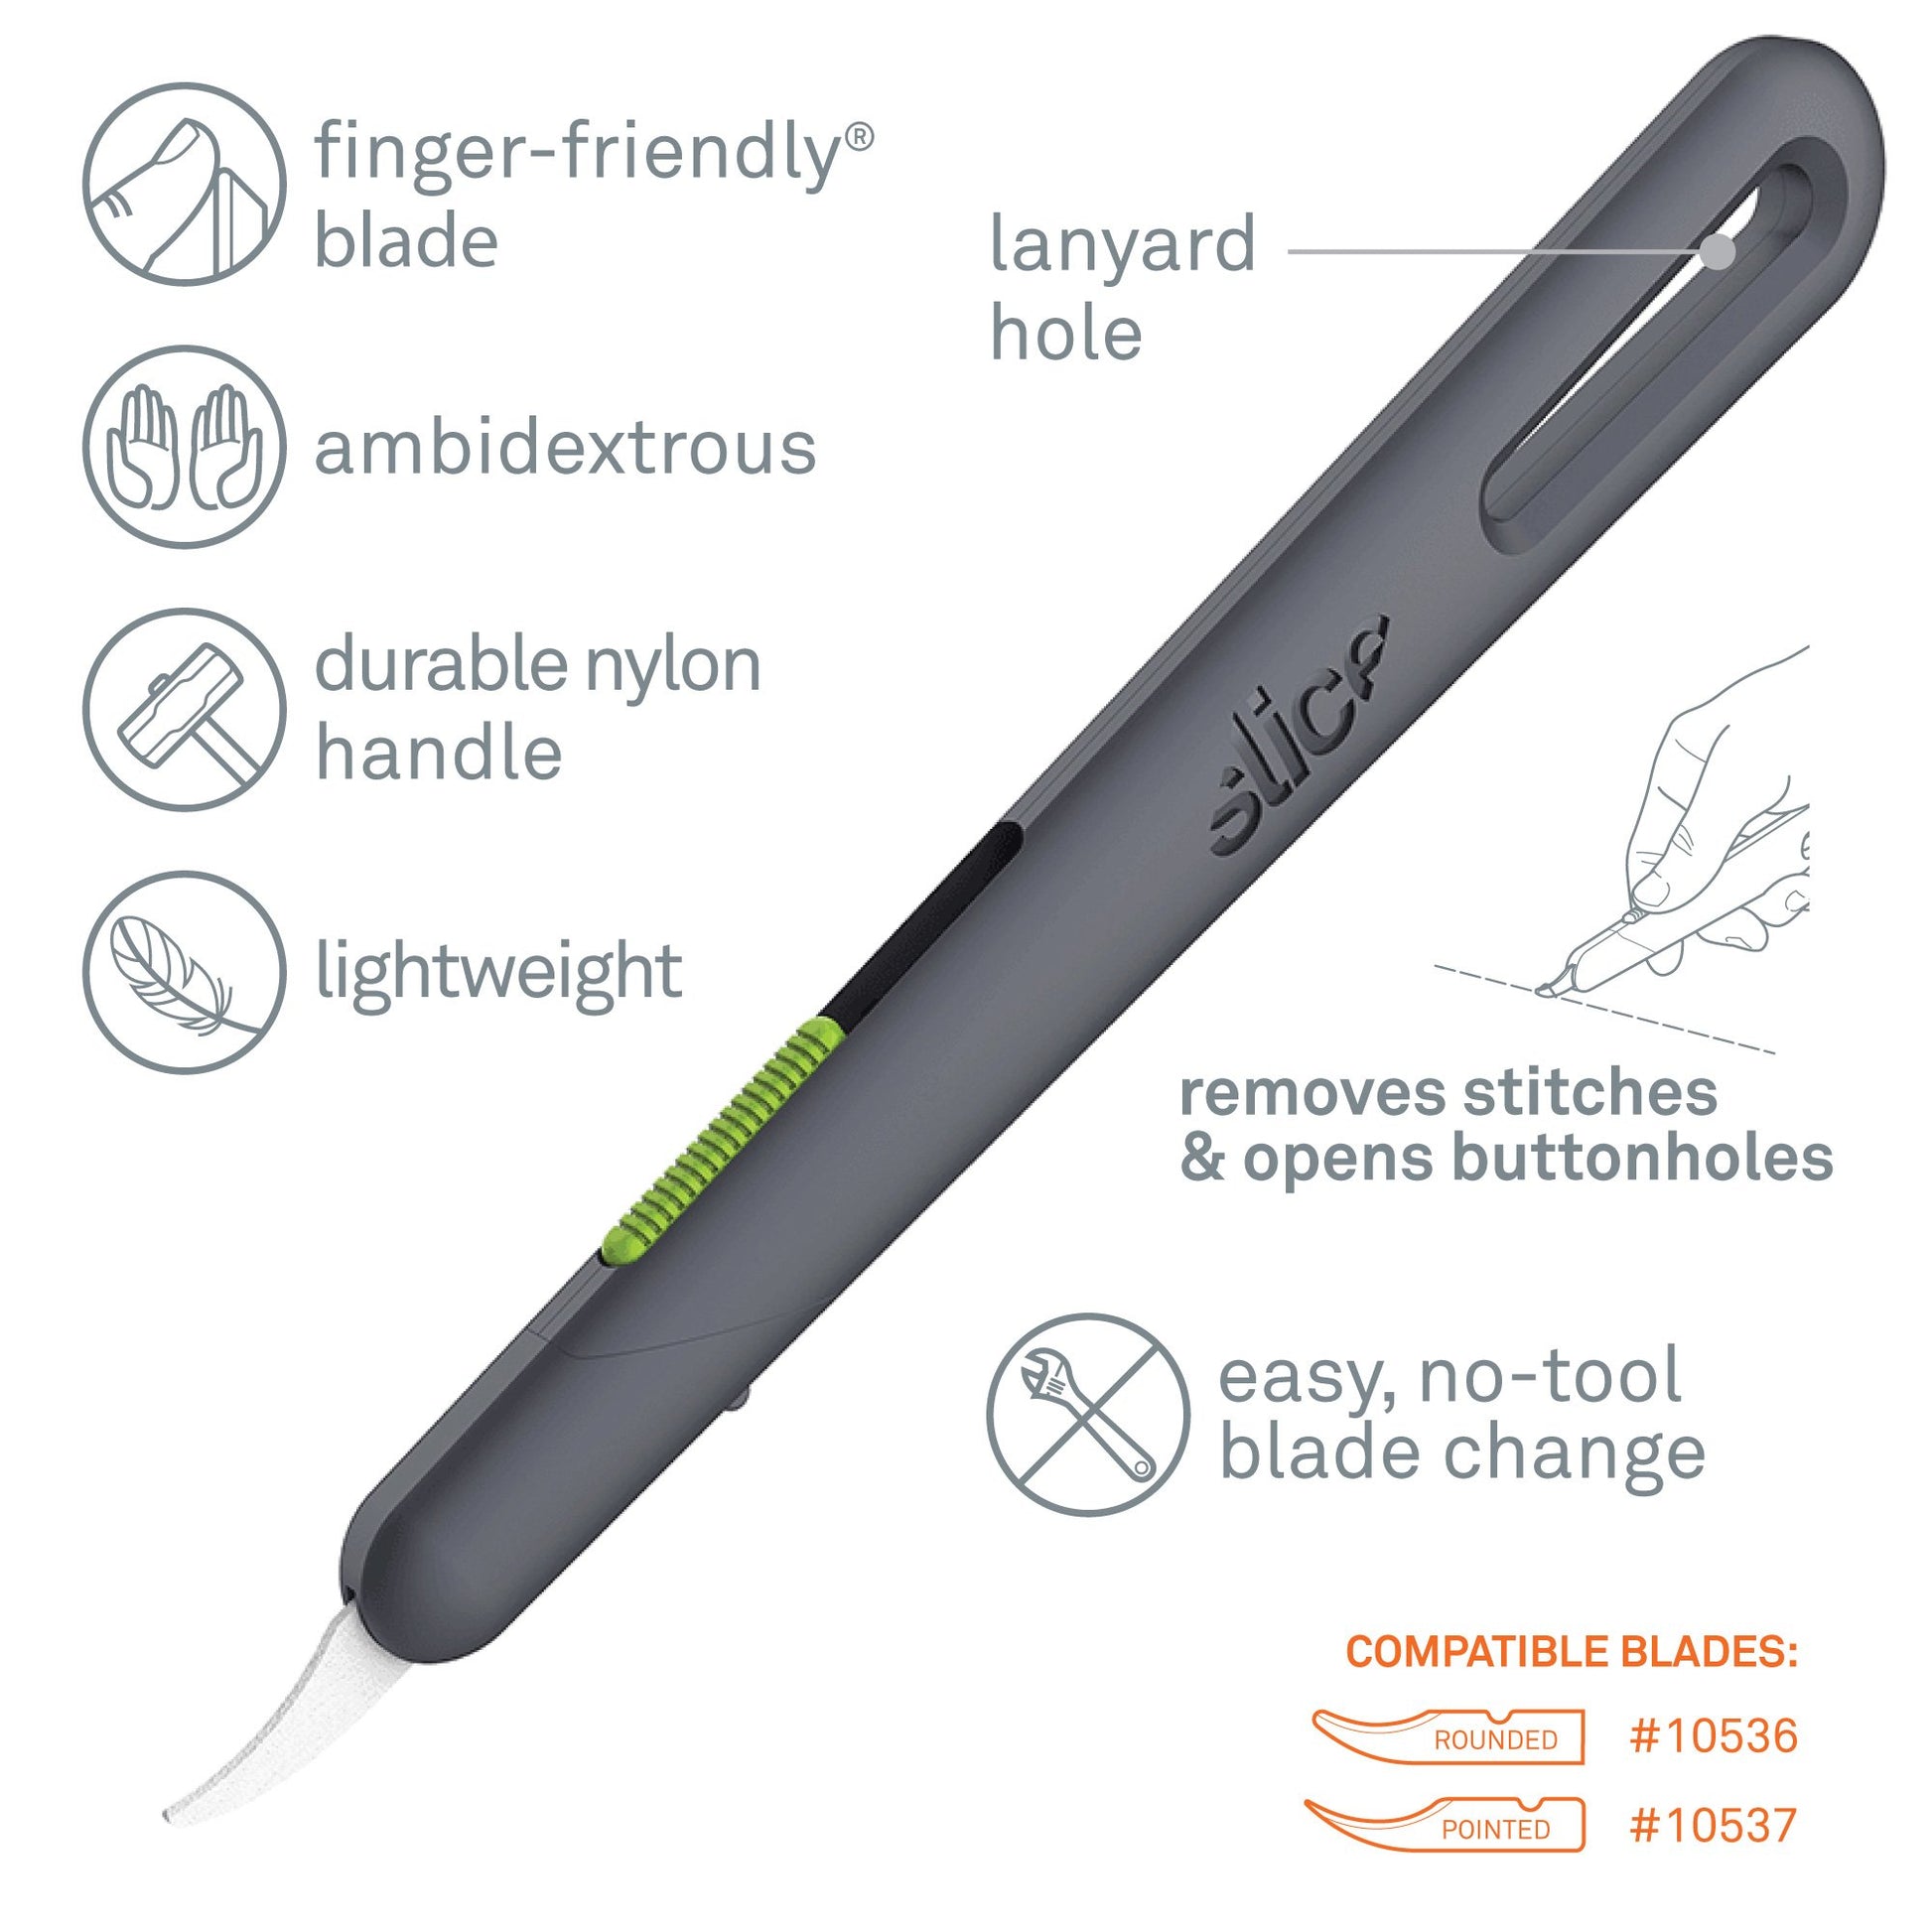
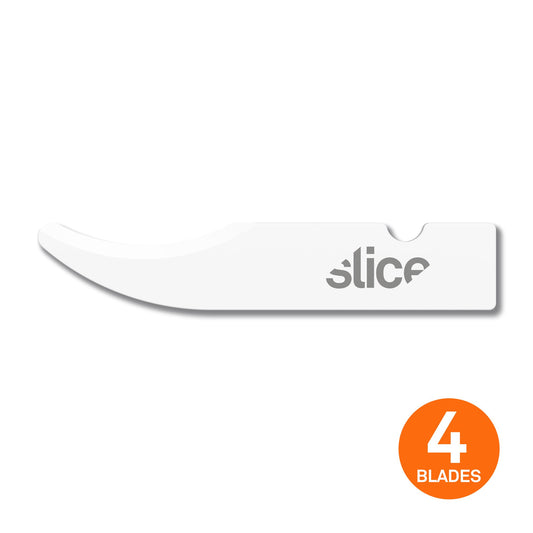
- Type de lame en standard : Lames pour découseur 10536 (bout arrondi)
- Manche résistant en nylon
- Ambidextre
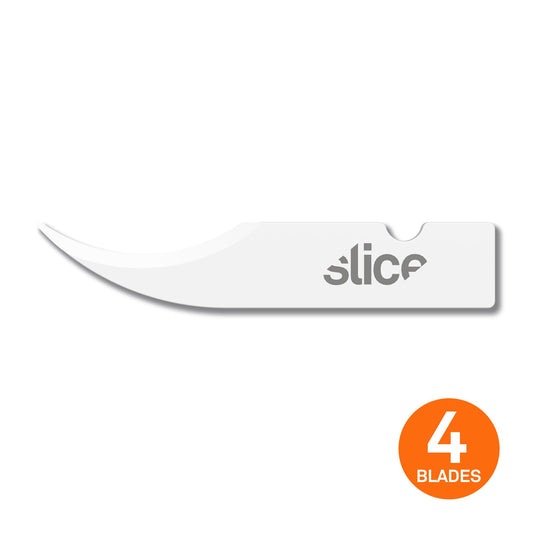
- Lames compatibles : 10536, 10537
- Le tranchant finger-friendly® dure 11 fois plus longtemps que celui d’une lame en métal
- Lame chimiquement inerte et qui ne rouille pas
- Lame qui ne produit pas d’étincelles, non conductrice, non magnétique
- Lame sans revêtement huileux ni lubrifiant
- Moins de blessures, coûts réduits
- Changement de lame sans outil
- Réf. 10597
Great for:
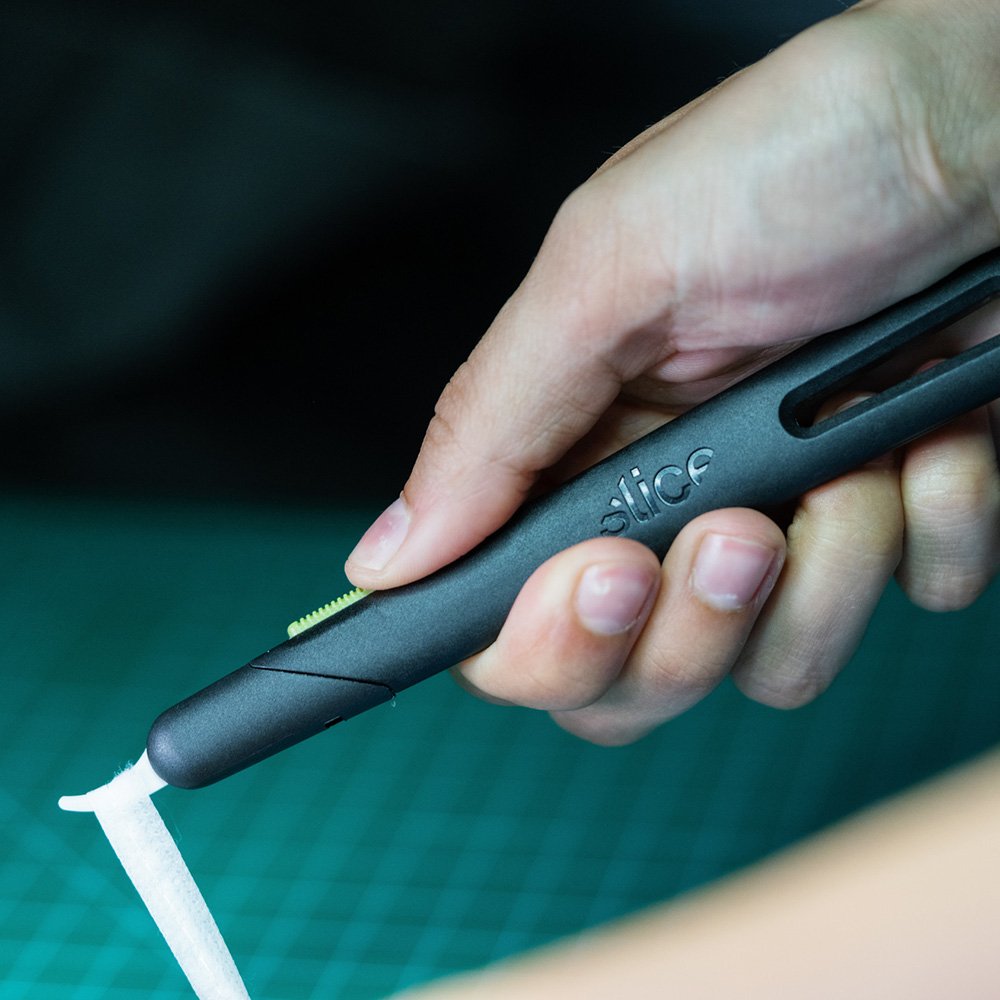
- Cutting string and thread
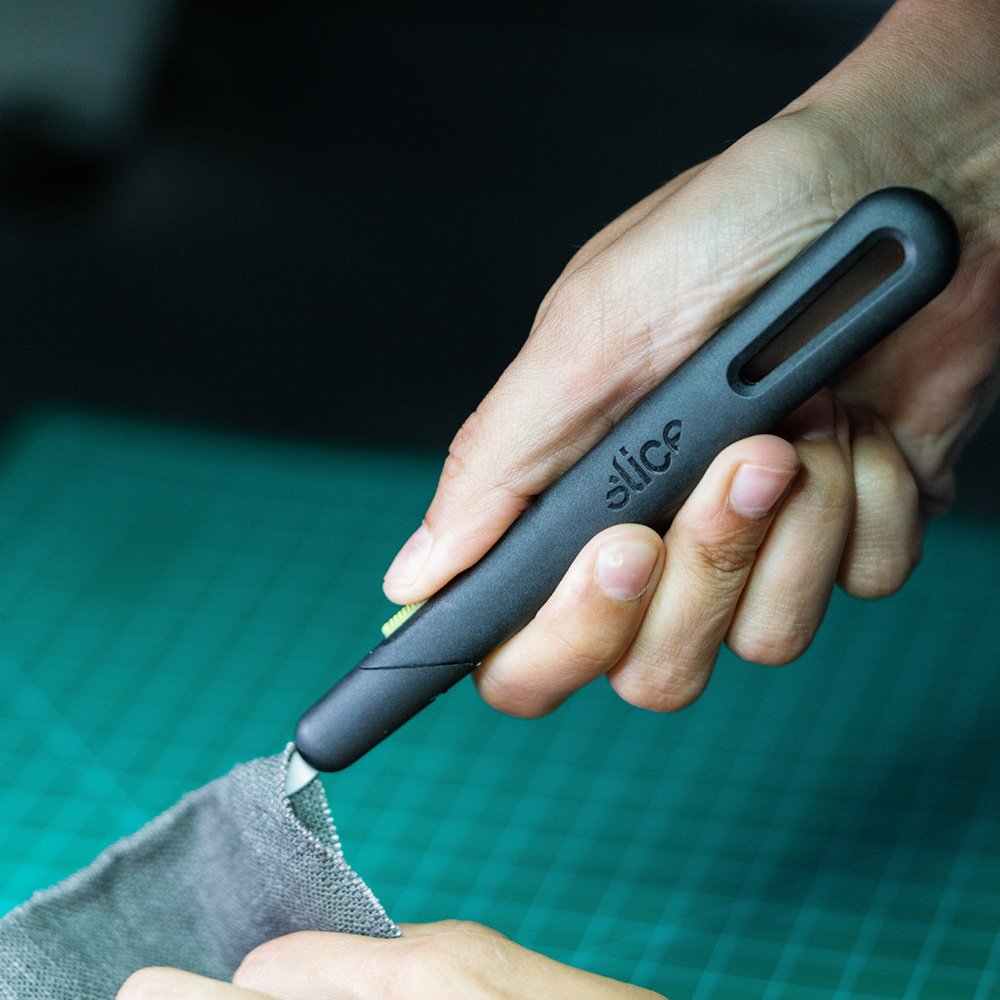
- Removing stitches and opening buttonholes
- Deburring soft plastics
- Hooking and slicing film
Product Specifications
Product Specifications
Cutting Depth:
Material: GFN, POM, stainless steel, carbon steel, zirconium oxide
Dimensions: L x W x H
Weight: 0.07 lbVideos
-
Blade Replacement for Slice Seam Rippers
Related Products
FAQ
What Are the Most Popular Retractable Seam Ripper Uses?
How Is the Slice Auto-Retractable Seam Ripper Unique?
Which Blades Should I Use?
How Do I Change the Blade in the 10597 Seam Ripper?
1) Hold the seam ripper so that the slider is on top and the small grey nub is on the bottom.
2) Make sure the blade is fully retracted, as the blade-change cap cannot be removed when the blade is extended.
3) To remove the blade-change cap, push in the grey nub with your thumb and tilt the bottom of the cap away from the handle, as though there is an invisible hinge between the top of the cap and the top of the handle. Pull the cap away.
4) Once the cap is removed, extend the blade fully and remove it from its (green/orange) housing.
5) Place the new blade in the housing, ensuring that the notch lines up properly.
6) Retract the blade fully and replace the blade-change cap by hinging it back on with the same angle you used to remove it.

