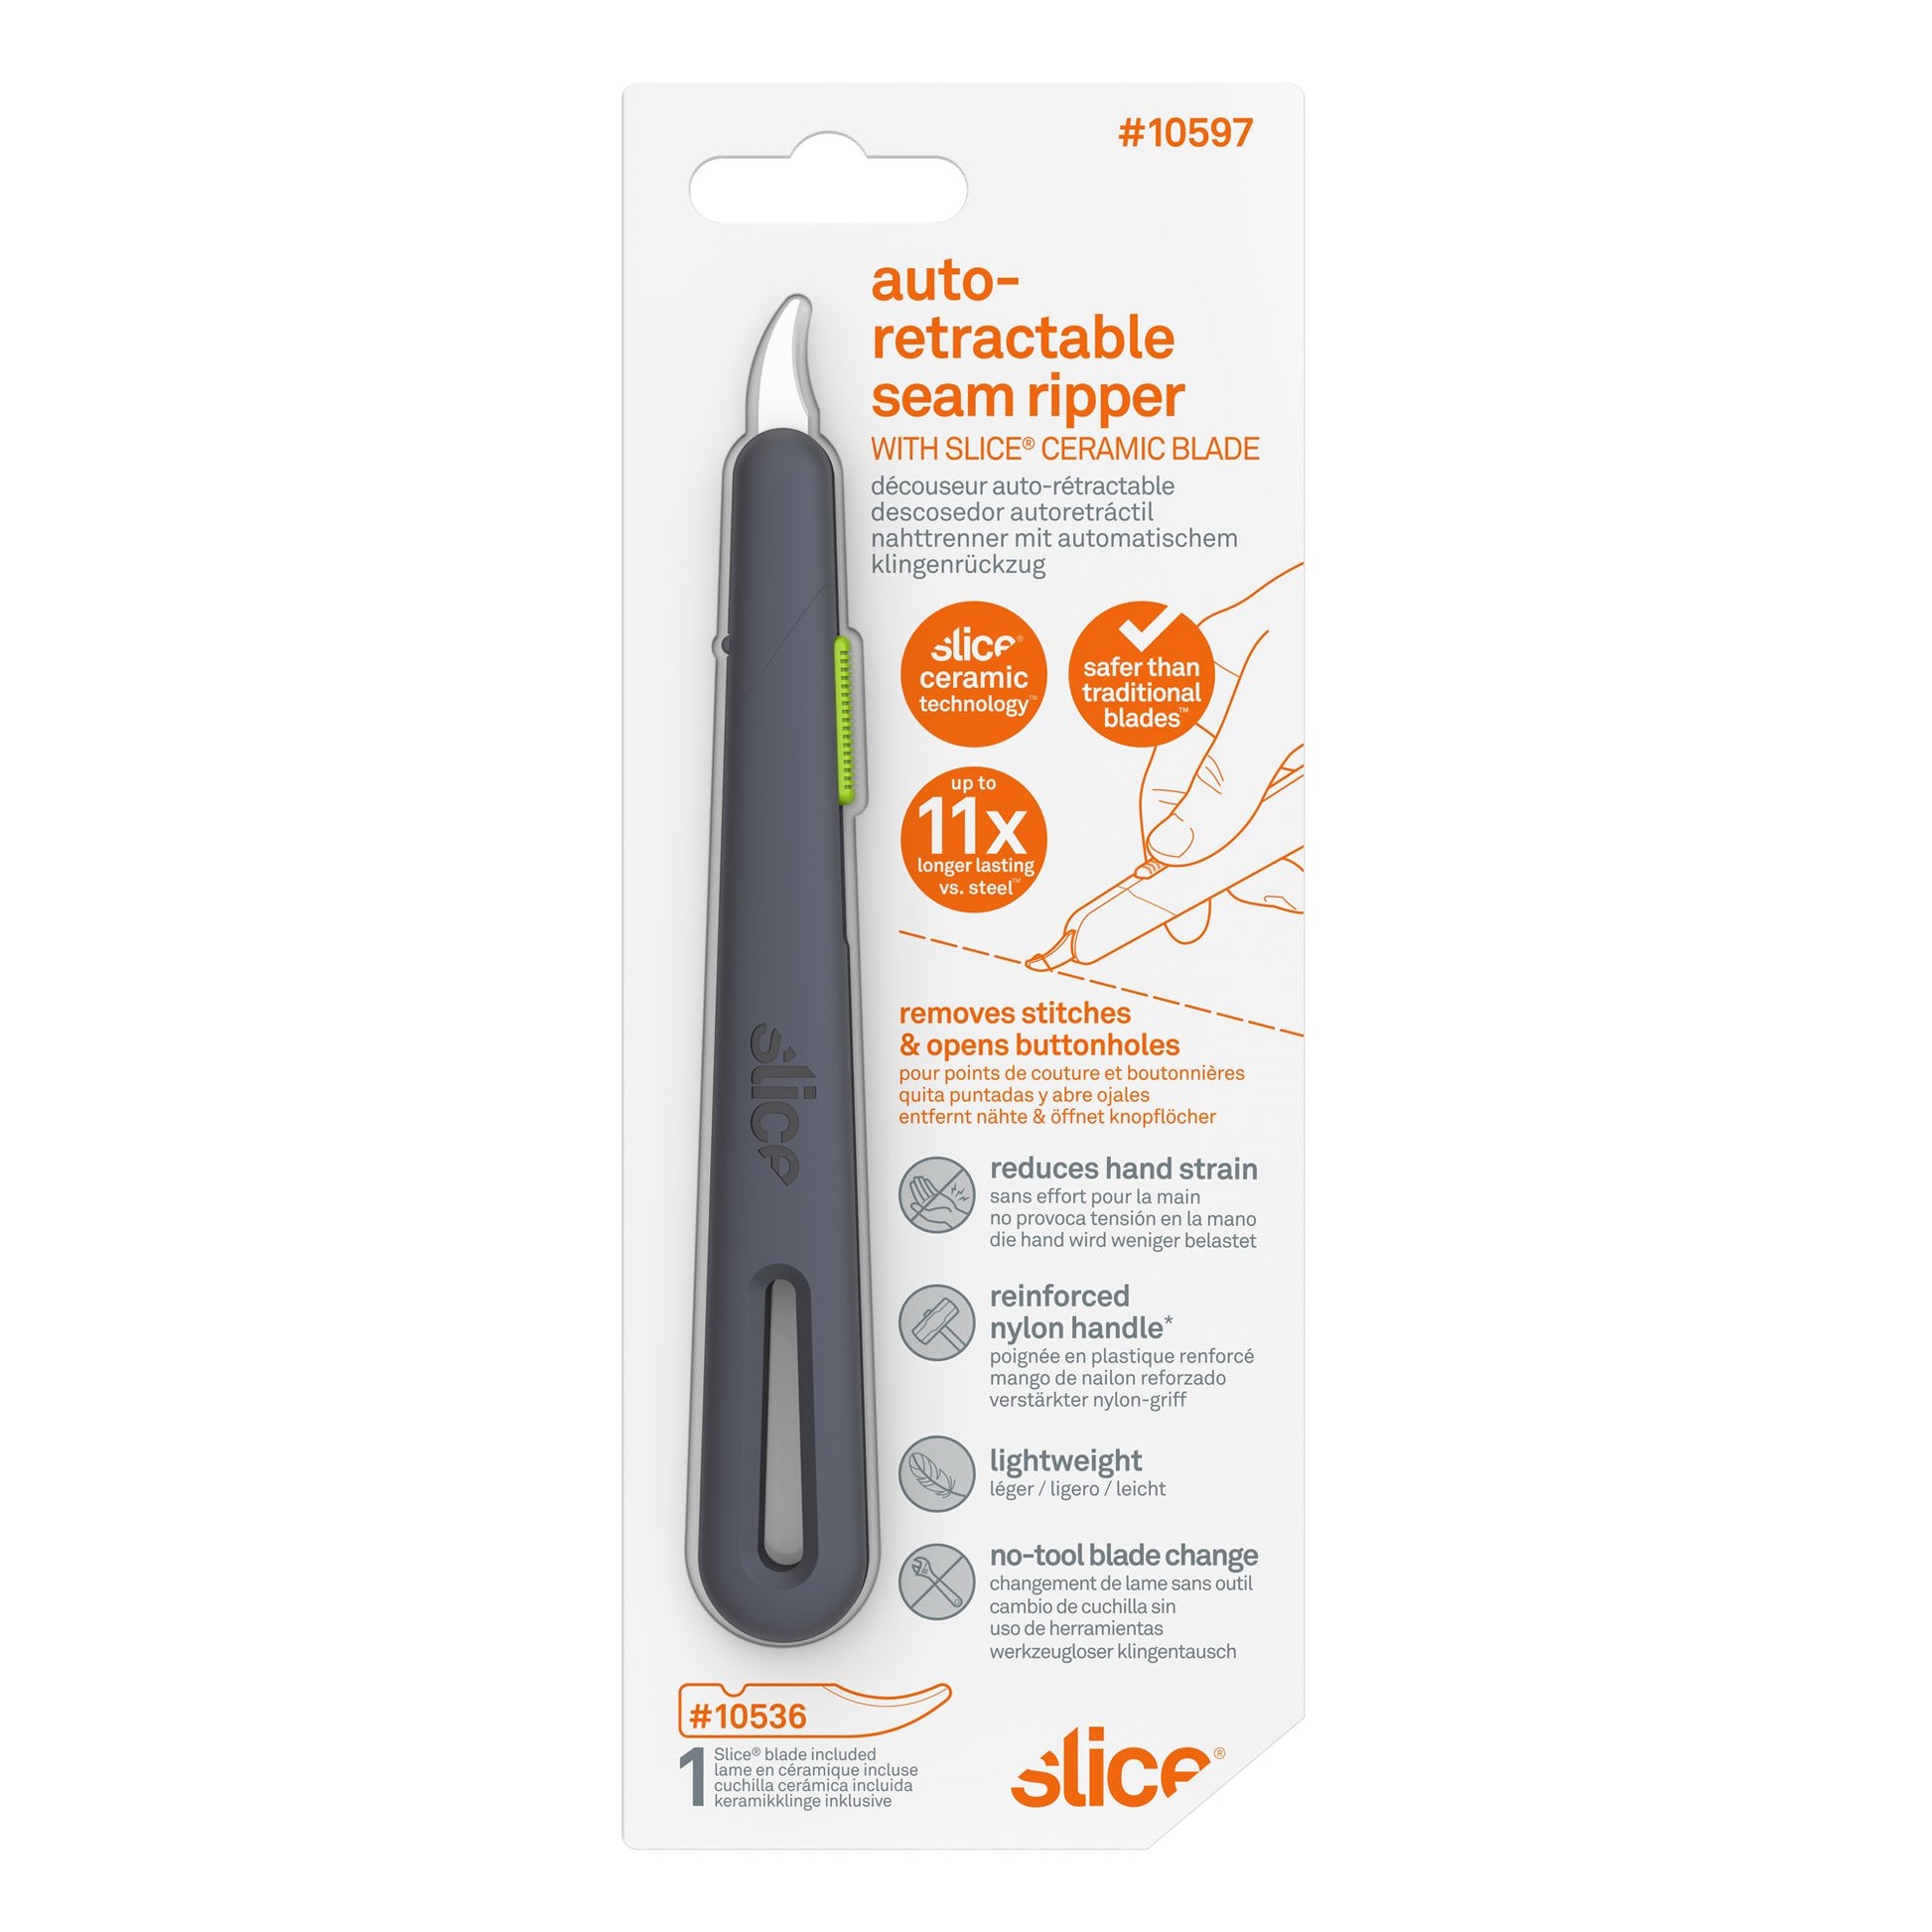
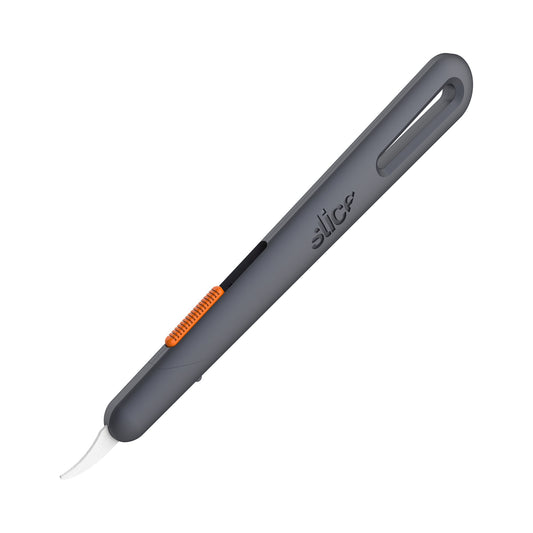
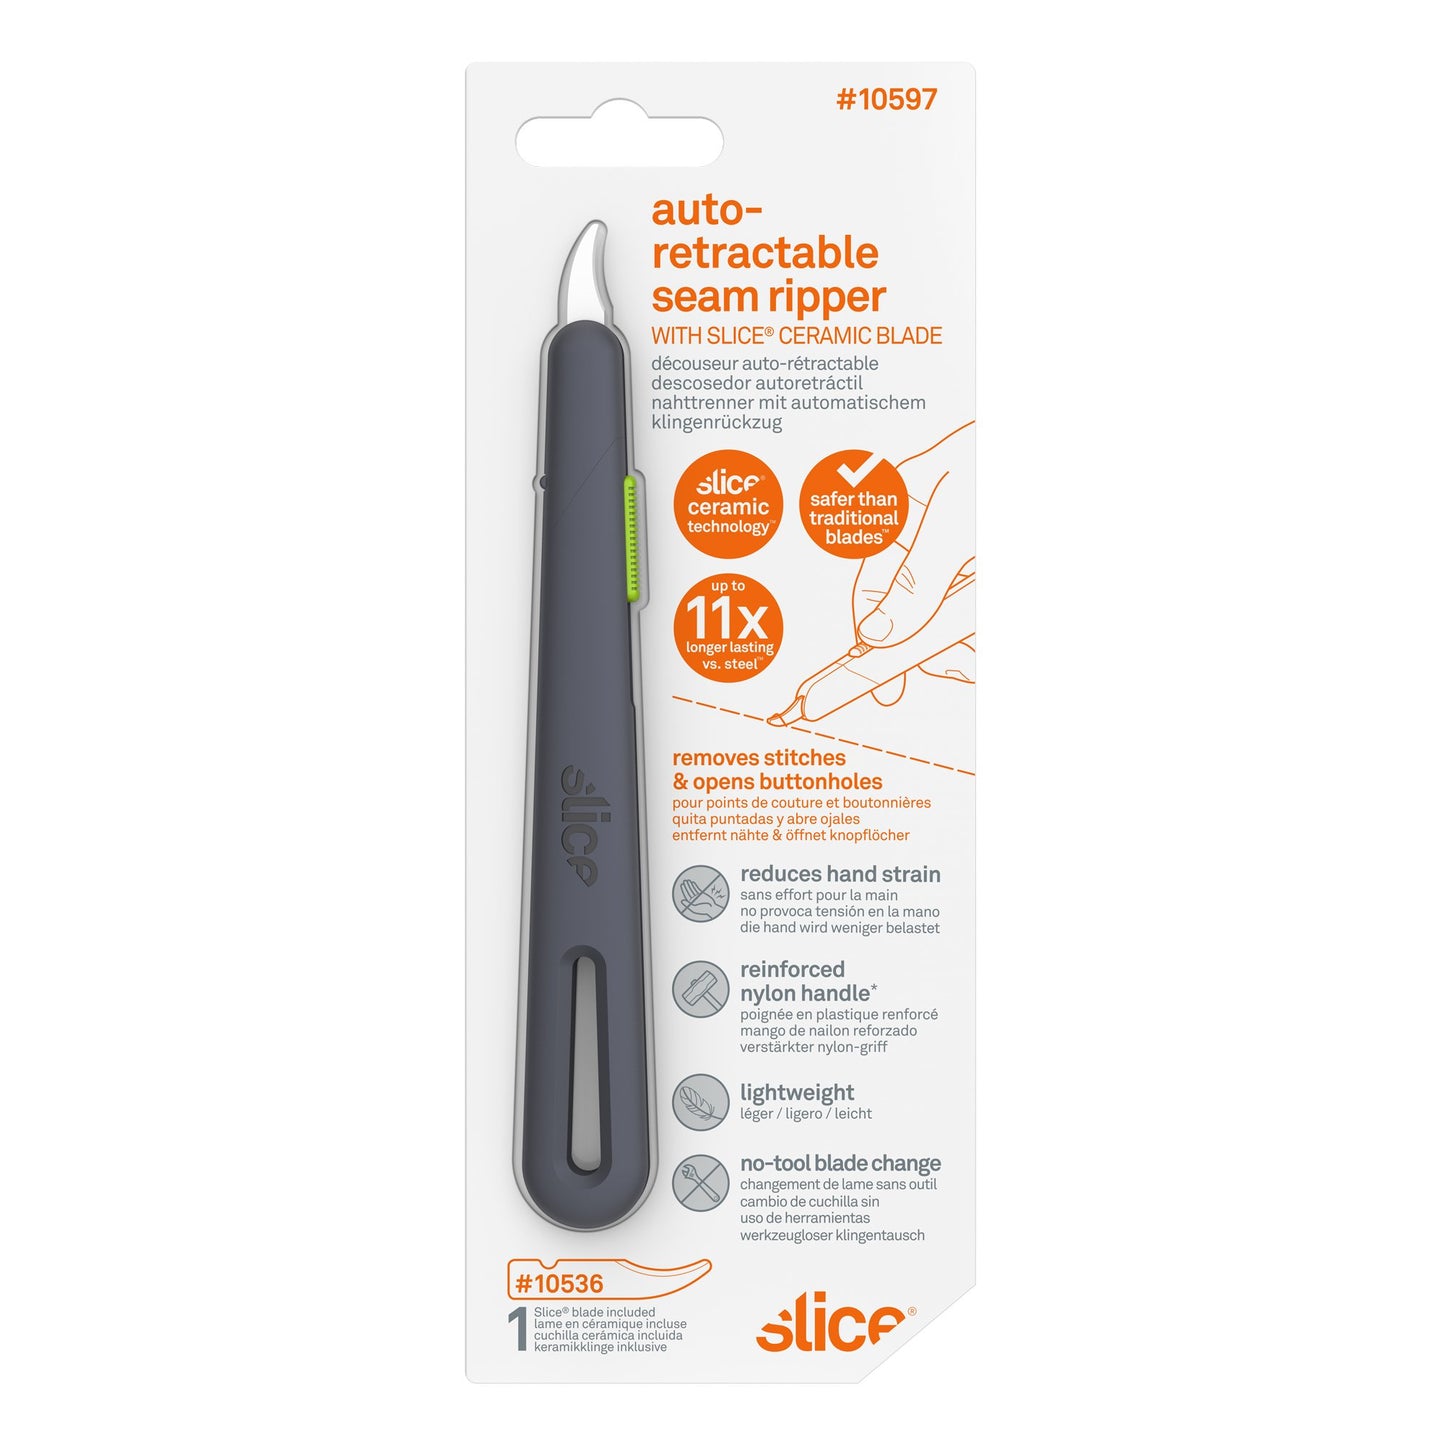
Rozpruwacz do szwów z automatycznie chowanym ostrzem
SKU #10597
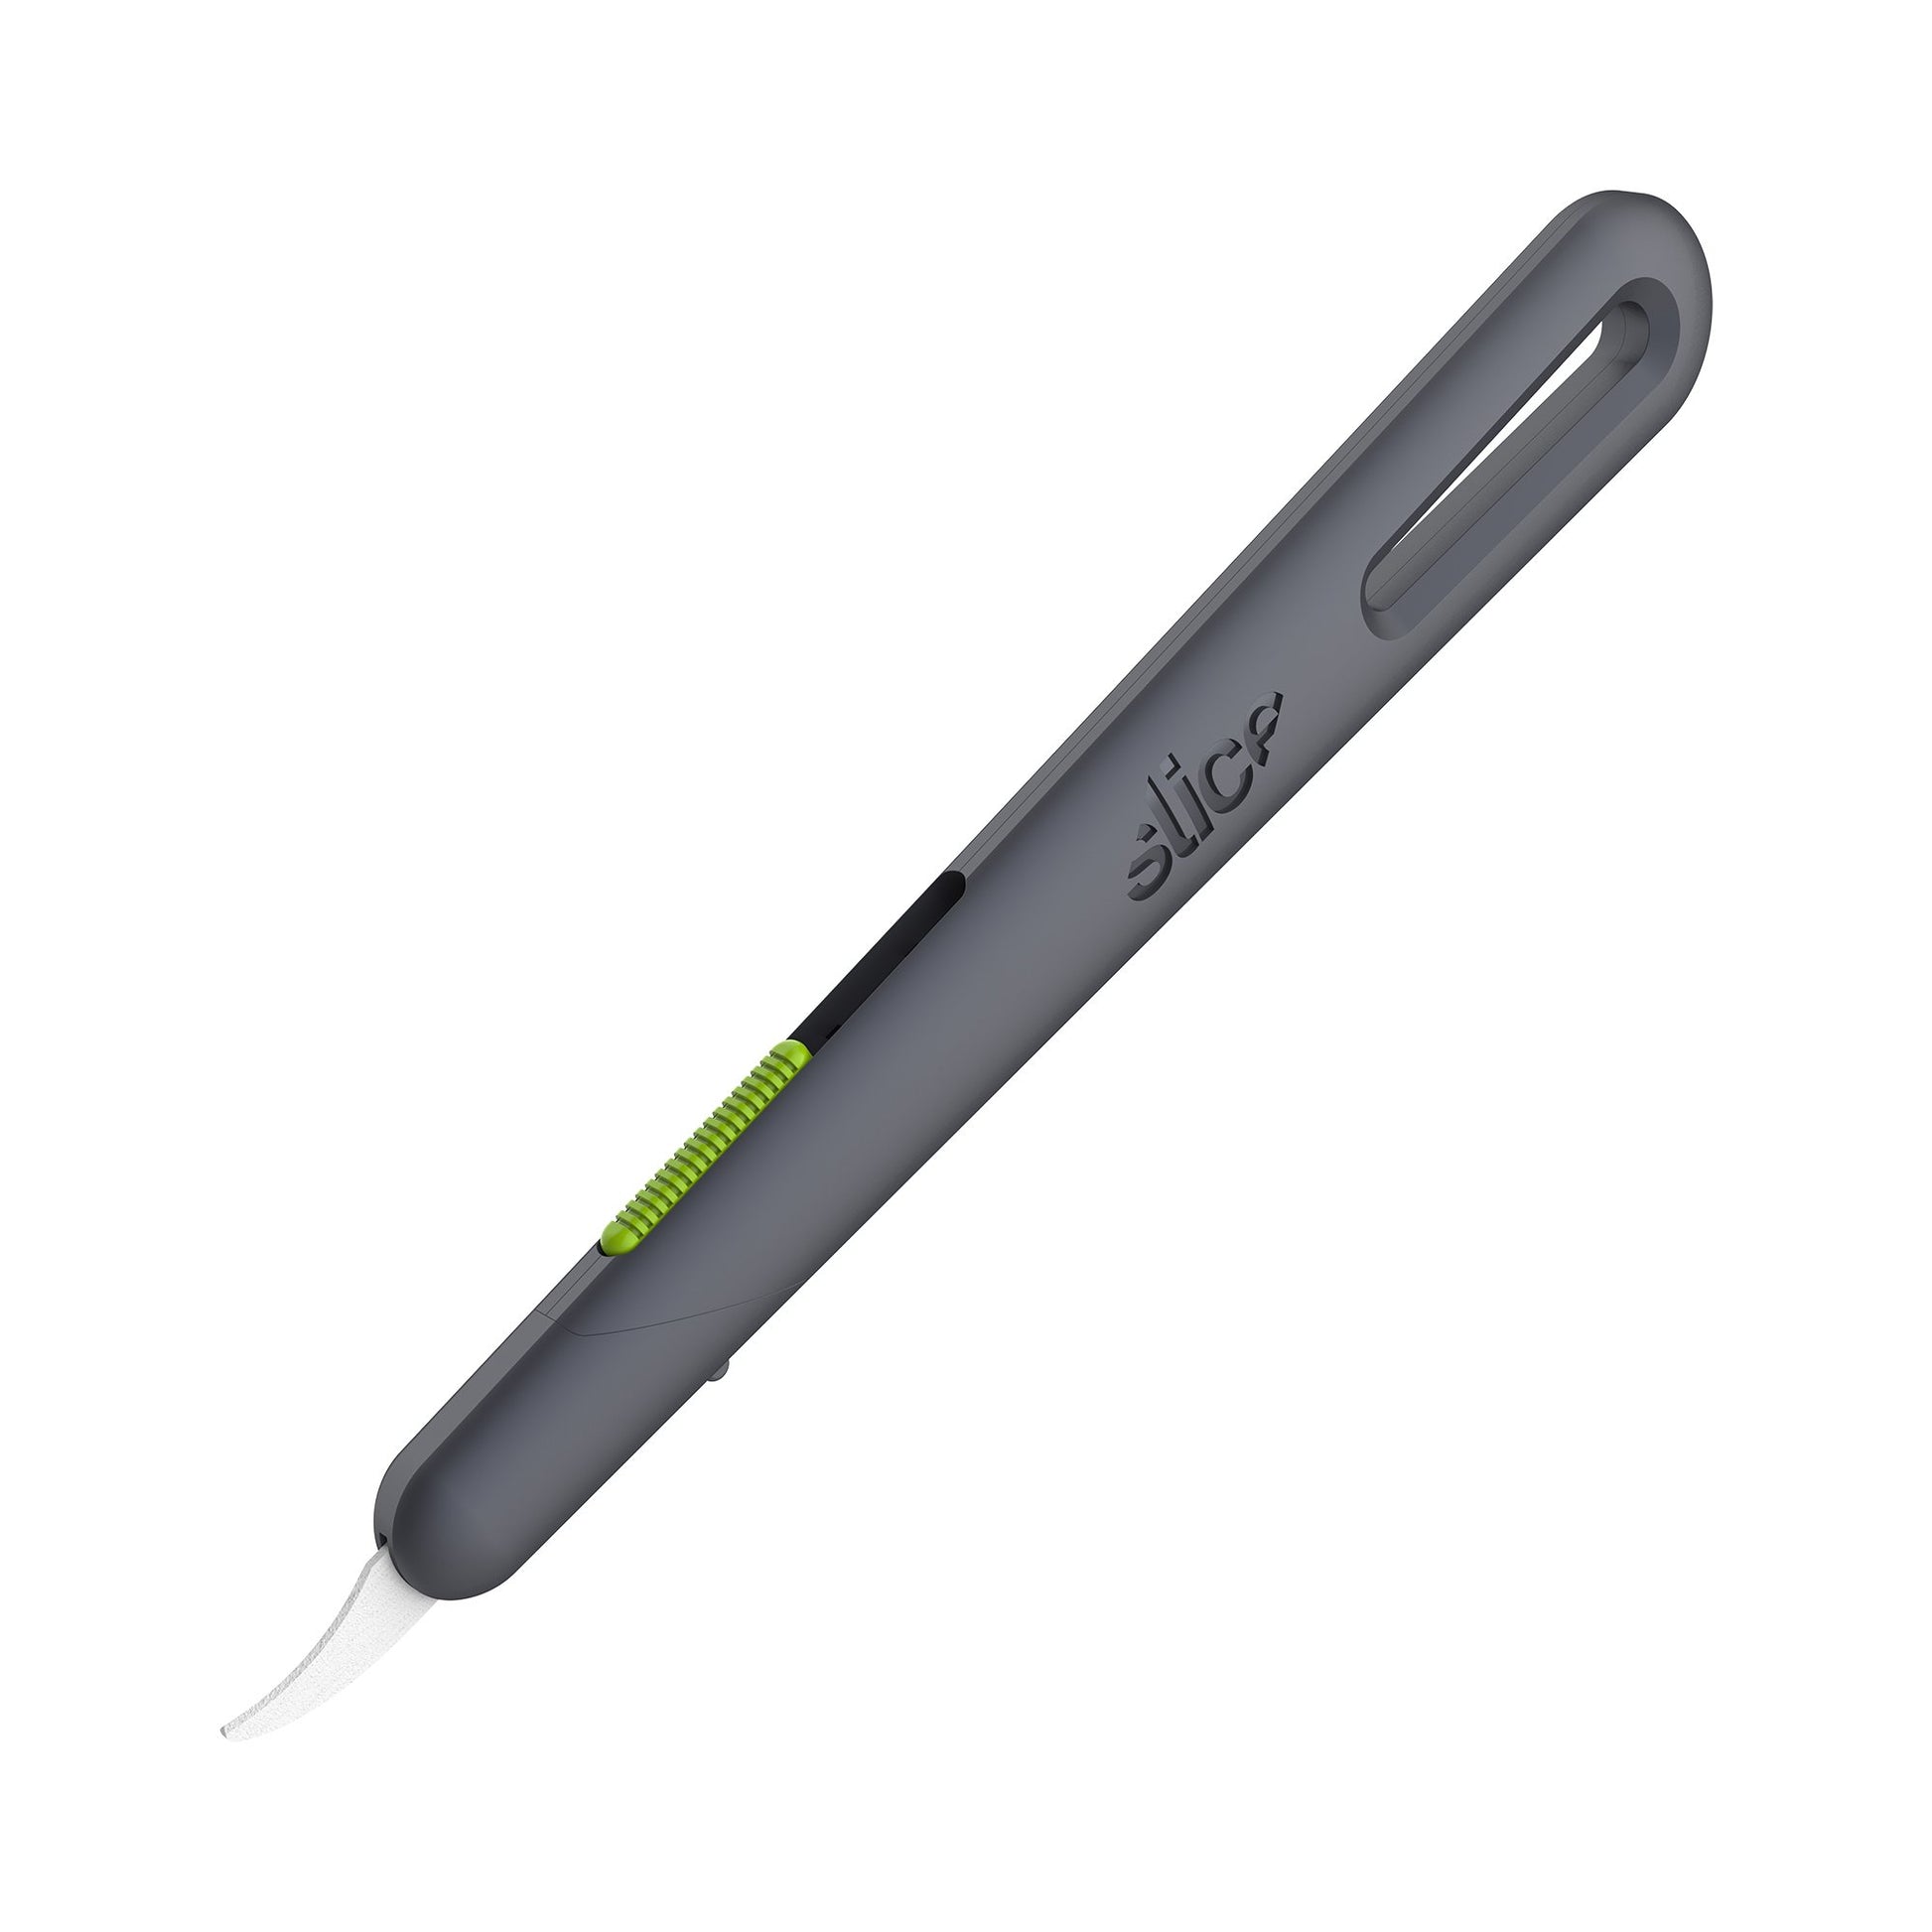
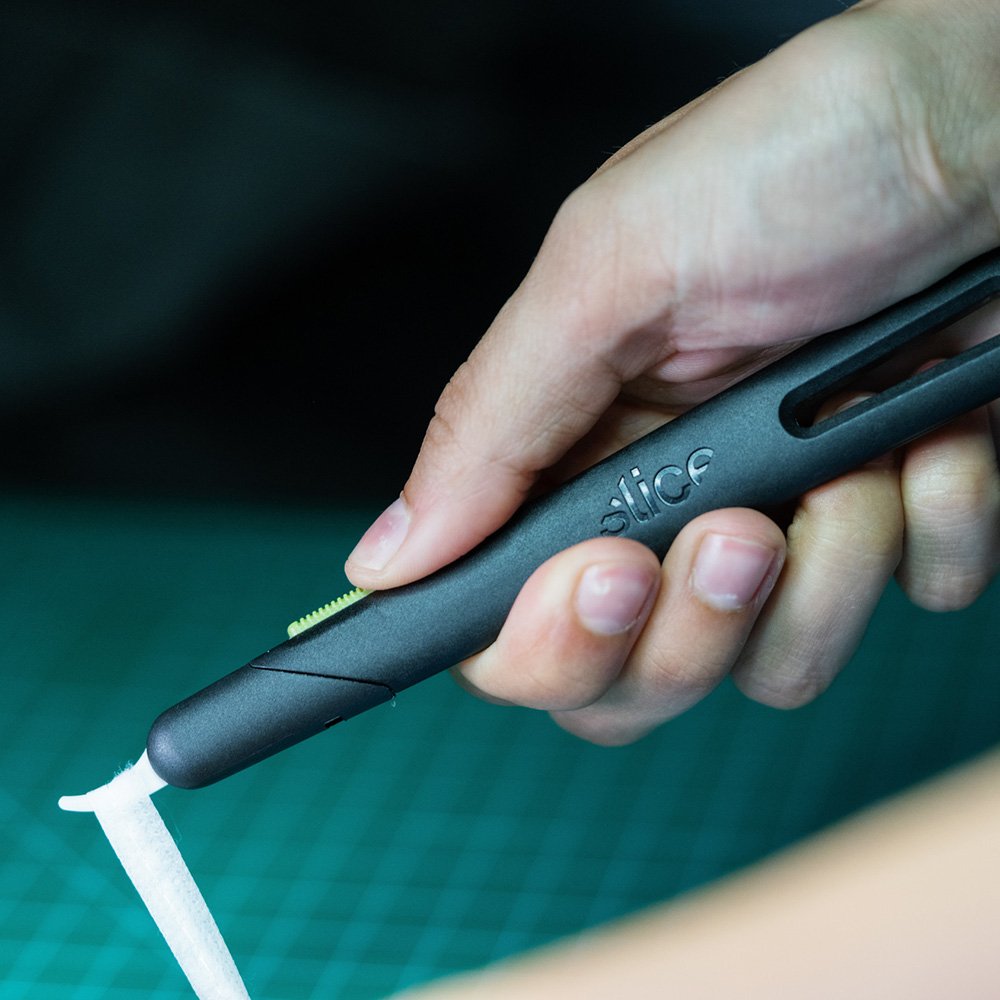
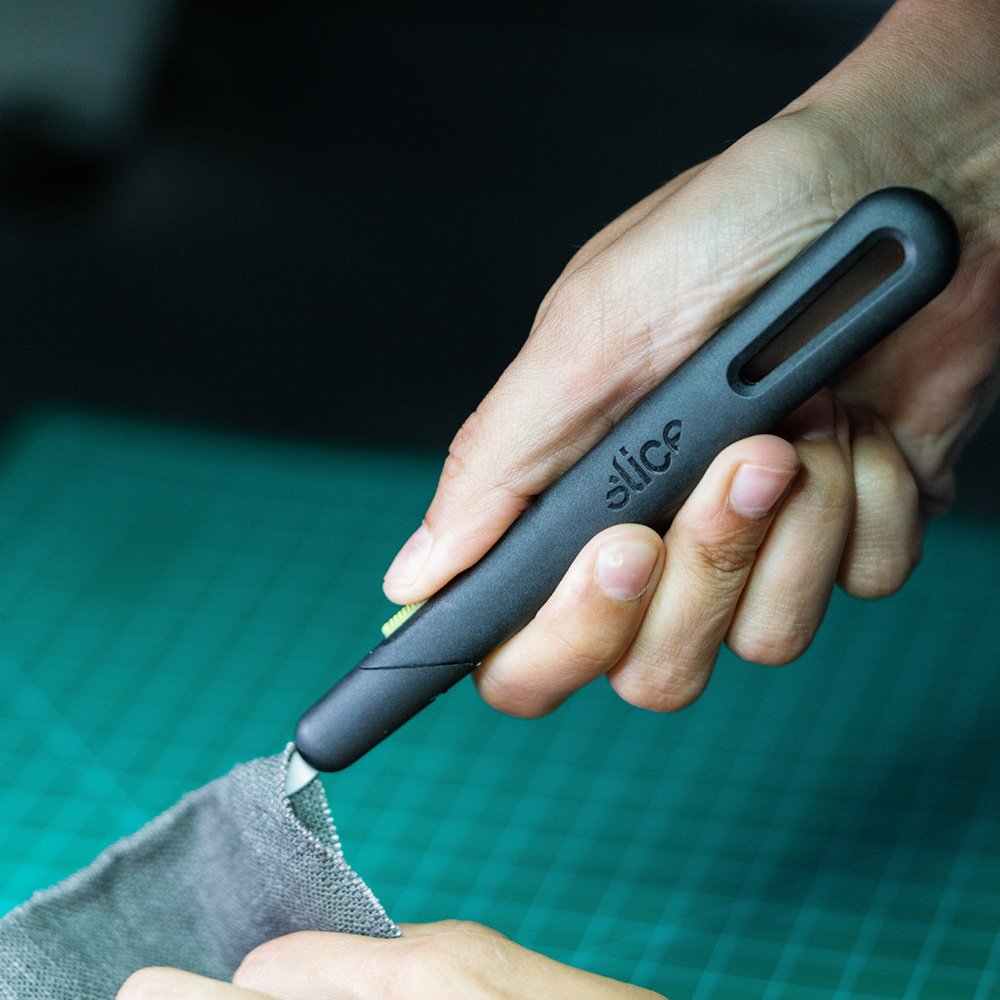
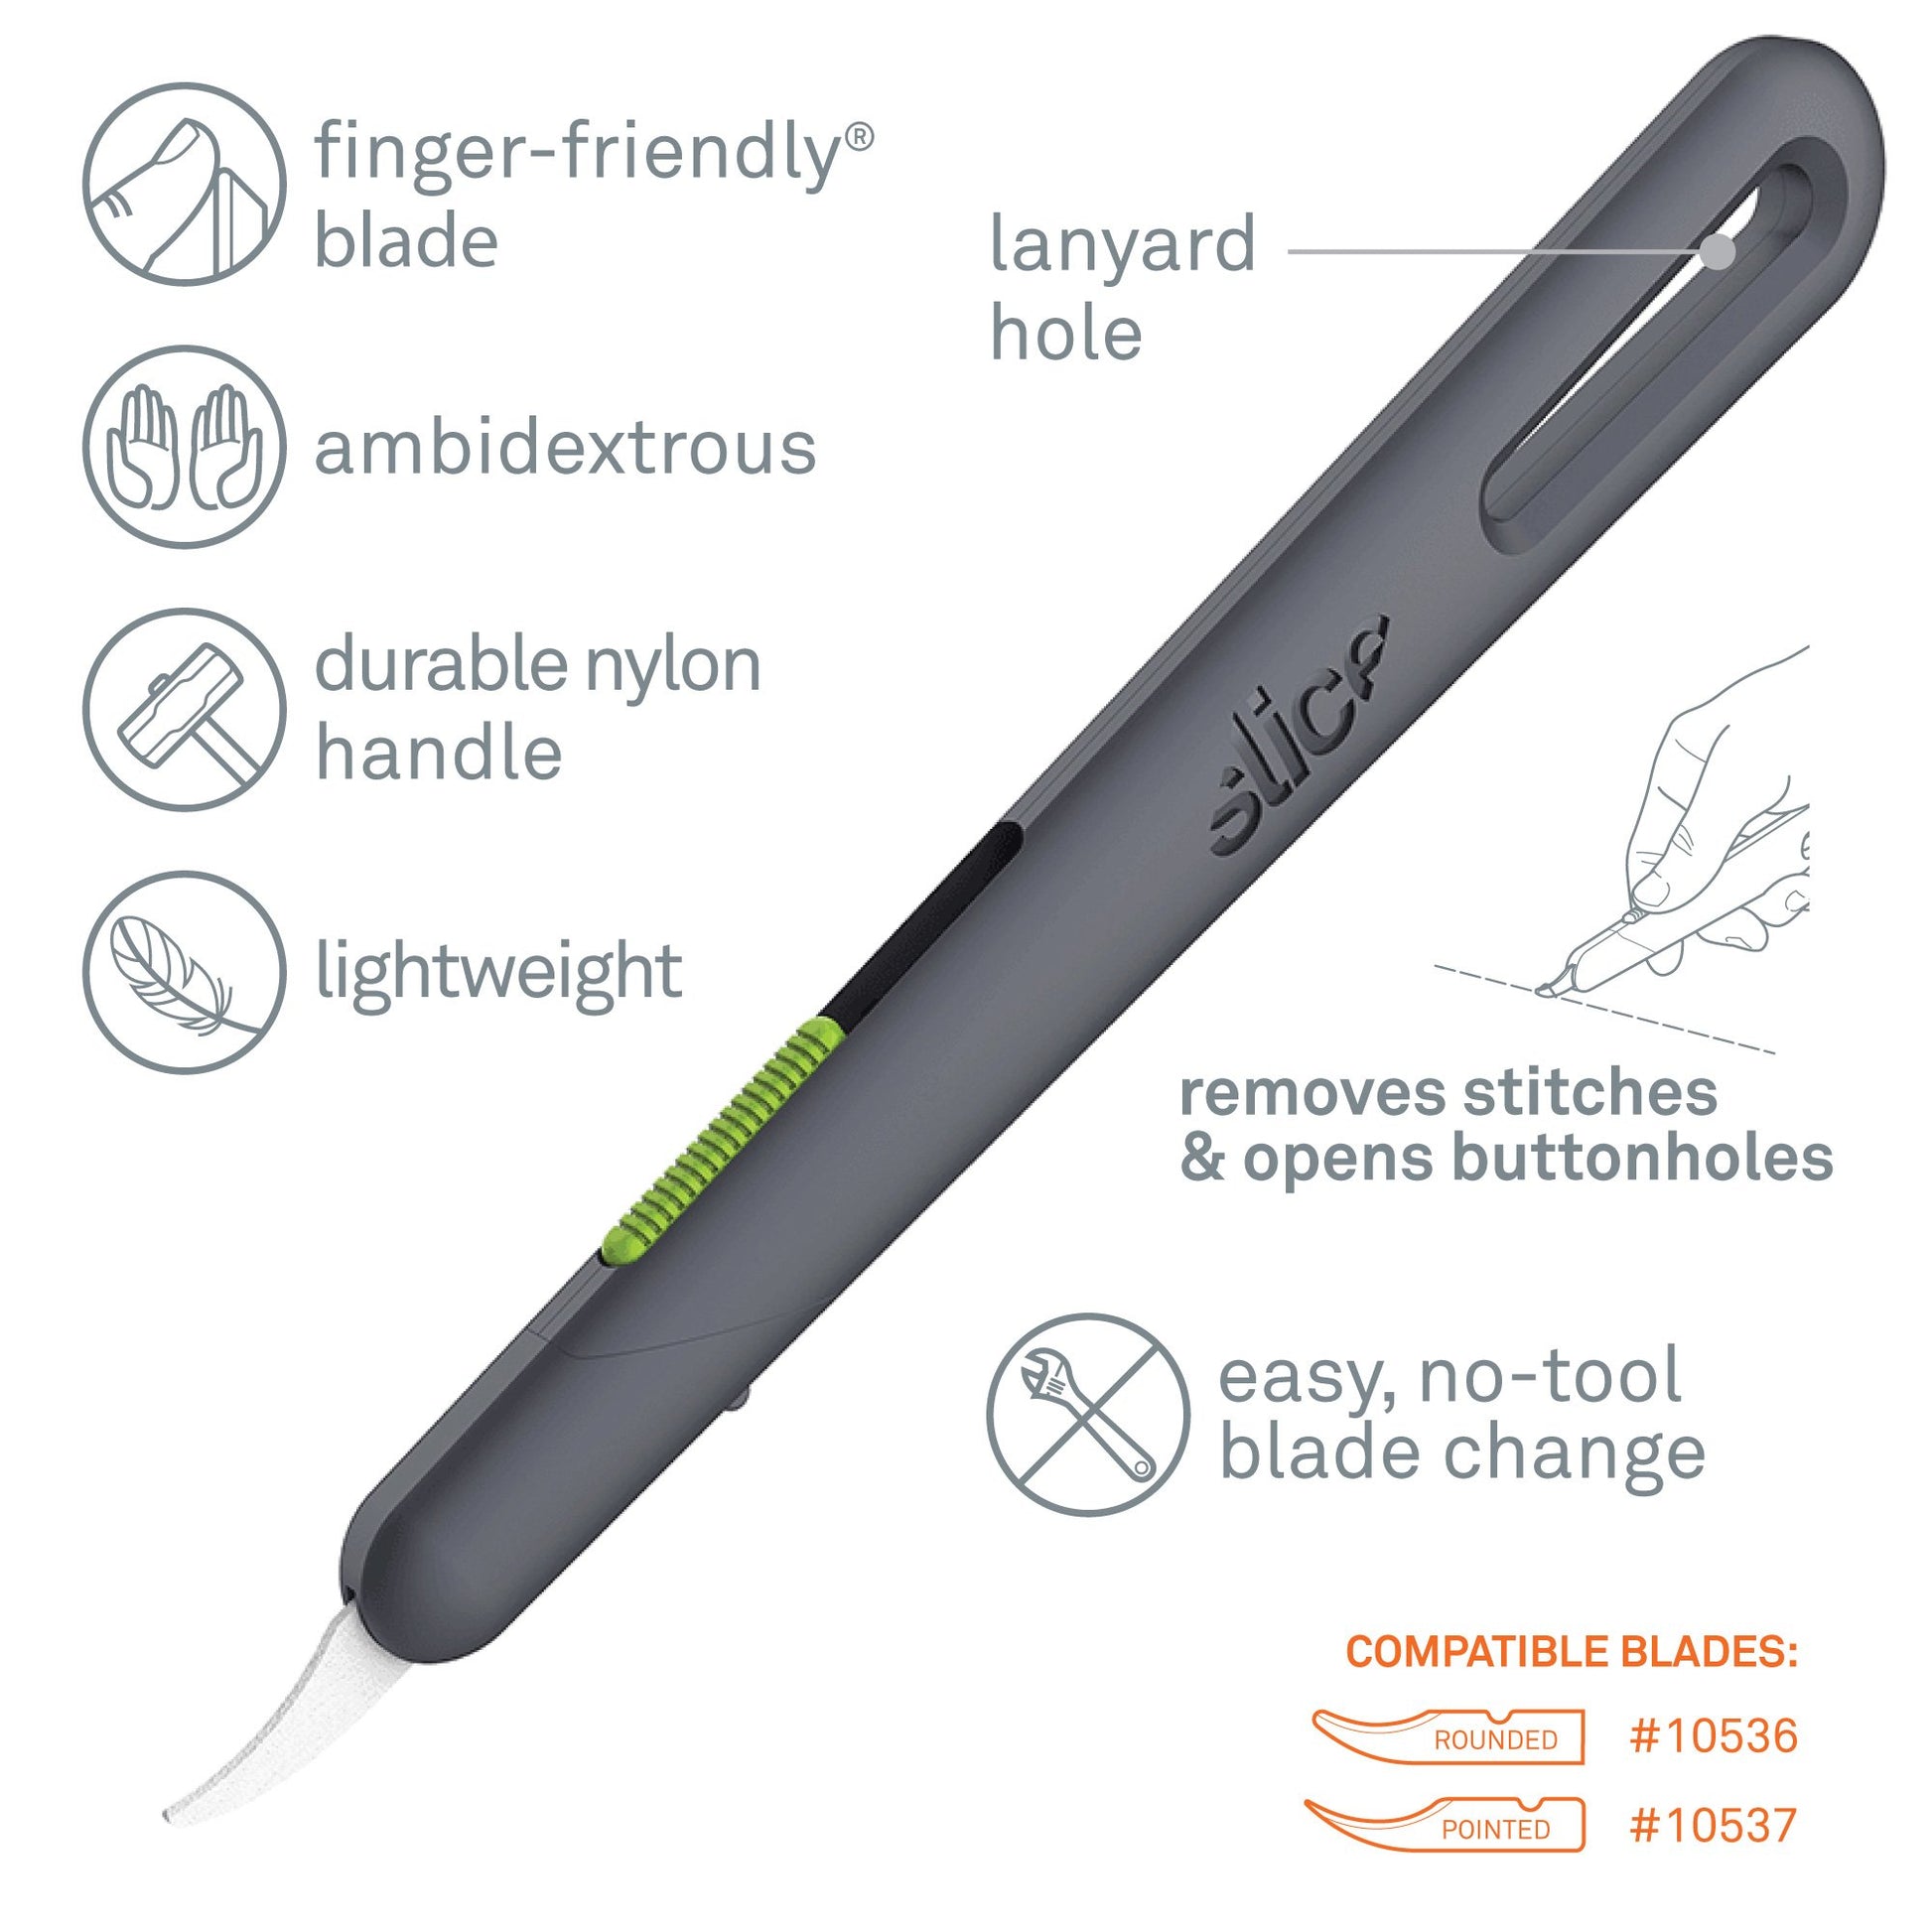
Rozpruwacz do szwów z automatycznie chowanym ostrzem Slice® 10597 jest niezwykle przydatny w sytuacjach, gdy ostrza stałe są niedozwolone oraz stanowi świetny wybór, jeśli szukamy bezpieczniejszej alternatywy dla standardowego skrobaka. Podczas gdy rozpruwacze do szwów z automatycznie chowanym ostrzem są już dostępne na rynku, Slice przedstawia użytkownikom pierwszą wersję z zaawansowanymi ostrzami ceramicznymi i bezpieczną krawędzią finger-friendly®. Rękojeść rozpruwacza do szwów Slice wyróżnia się wyprofilowanym kształtem i wykonana została ze wzmocnionego włóknem szklanym wytrzymałego nylonu. Rozpruwacz do szwów jest kompatybilny zarówno z zaokrąglonymi, jak i szpiczastymi ostrzami.
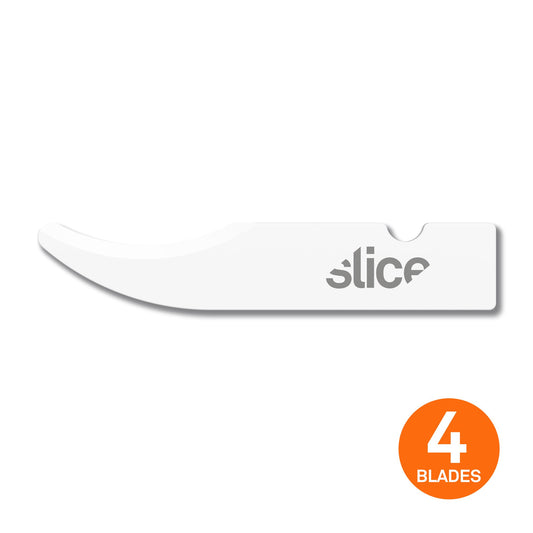
- Rodzaj ostrza: ostrze do rozpruwacza do szwów 10536 (zaokrąglone)
- Wytrzymała nylonowa rękojeść
- Oburęczny design
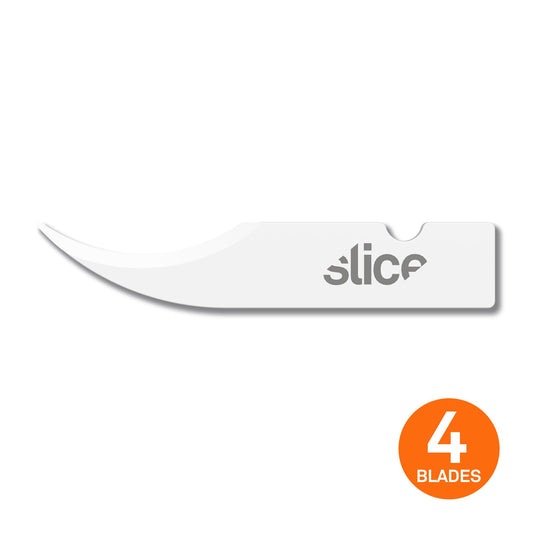
- Kompatybilne ostrza: 10536, 10537
- Ostrze finger-friendly® o 11 razy dłuższej żywotności niż ostrza metalowe
- Chemicznie obojętne i nigdy nierdzewiejące ostrze
- Nieiskrzące, nieprzewodzące prądu elektrycznego i niemagnetyczne ostrze
- Ostrze nie wymaga smarowania
- Mniej skaleczeń i mniej wydatków
- Niewymagająca narzędzi zmiana ostrza
- SKU #10597
Great for:
- Cutting string and thread
- Removing stitches and opening buttonholes
- Deburring soft plastics
- Hooking and slicing film
Product Specifications
Product Specifications
Cutting Depth:
Material: GFN, POM, stainless steel, carbon steel, zirconium oxide
Dimensions: L x W x H
Weight: 0.07 lbVideos
-
Blade Replacement for Slice Seam Rippers
Related Products
FAQ
What Are the Most Popular Retractable Seam Ripper Uses?
How Is the Slice Auto-Retractable Seam Ripper Unique?
Which Blades Should I Use?
How Do I Change the Blade in the 10597 Seam Ripper?
1) Hold the seam ripper so that the slider is on top and the small grey nub is on the bottom.
2) Make sure the blade is fully retracted, as the blade-change cap cannot be removed when the blade is extended.
3) To remove the blade-change cap, push in the grey nub with your thumb and tilt the bottom of the cap away from the handle, as though there is an invisible hinge between the top of the cap and the top of the handle. Pull the cap away.
4) Once the cap is removed, extend the blade fully and remove it from its (green/orange) housing.
5) Place the new blade in the housing, ensuring that the notch lines up properly.
6) Retract the blade fully and replace the blade-change cap by hinging it back on with the same angle you used to remove it.

