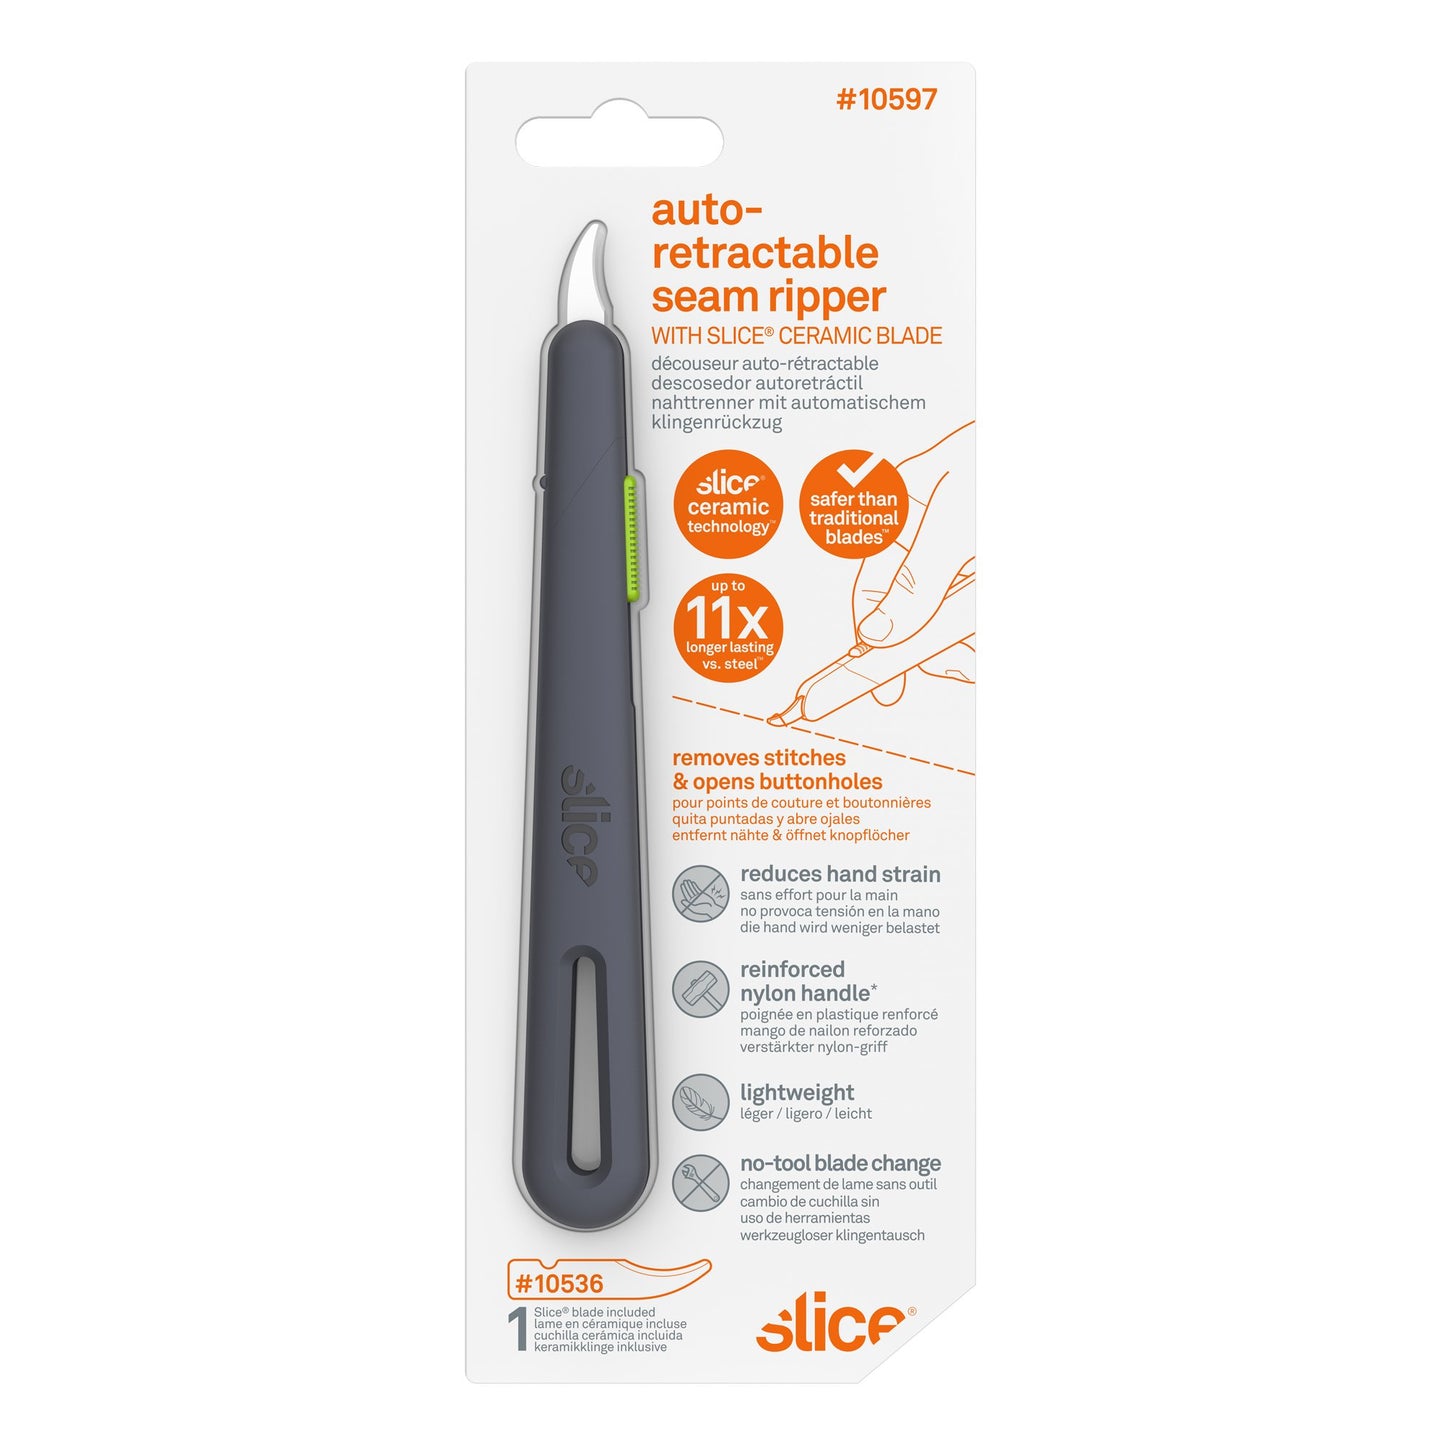
Seam Ripper Auto-Retrátil
SKU #10597
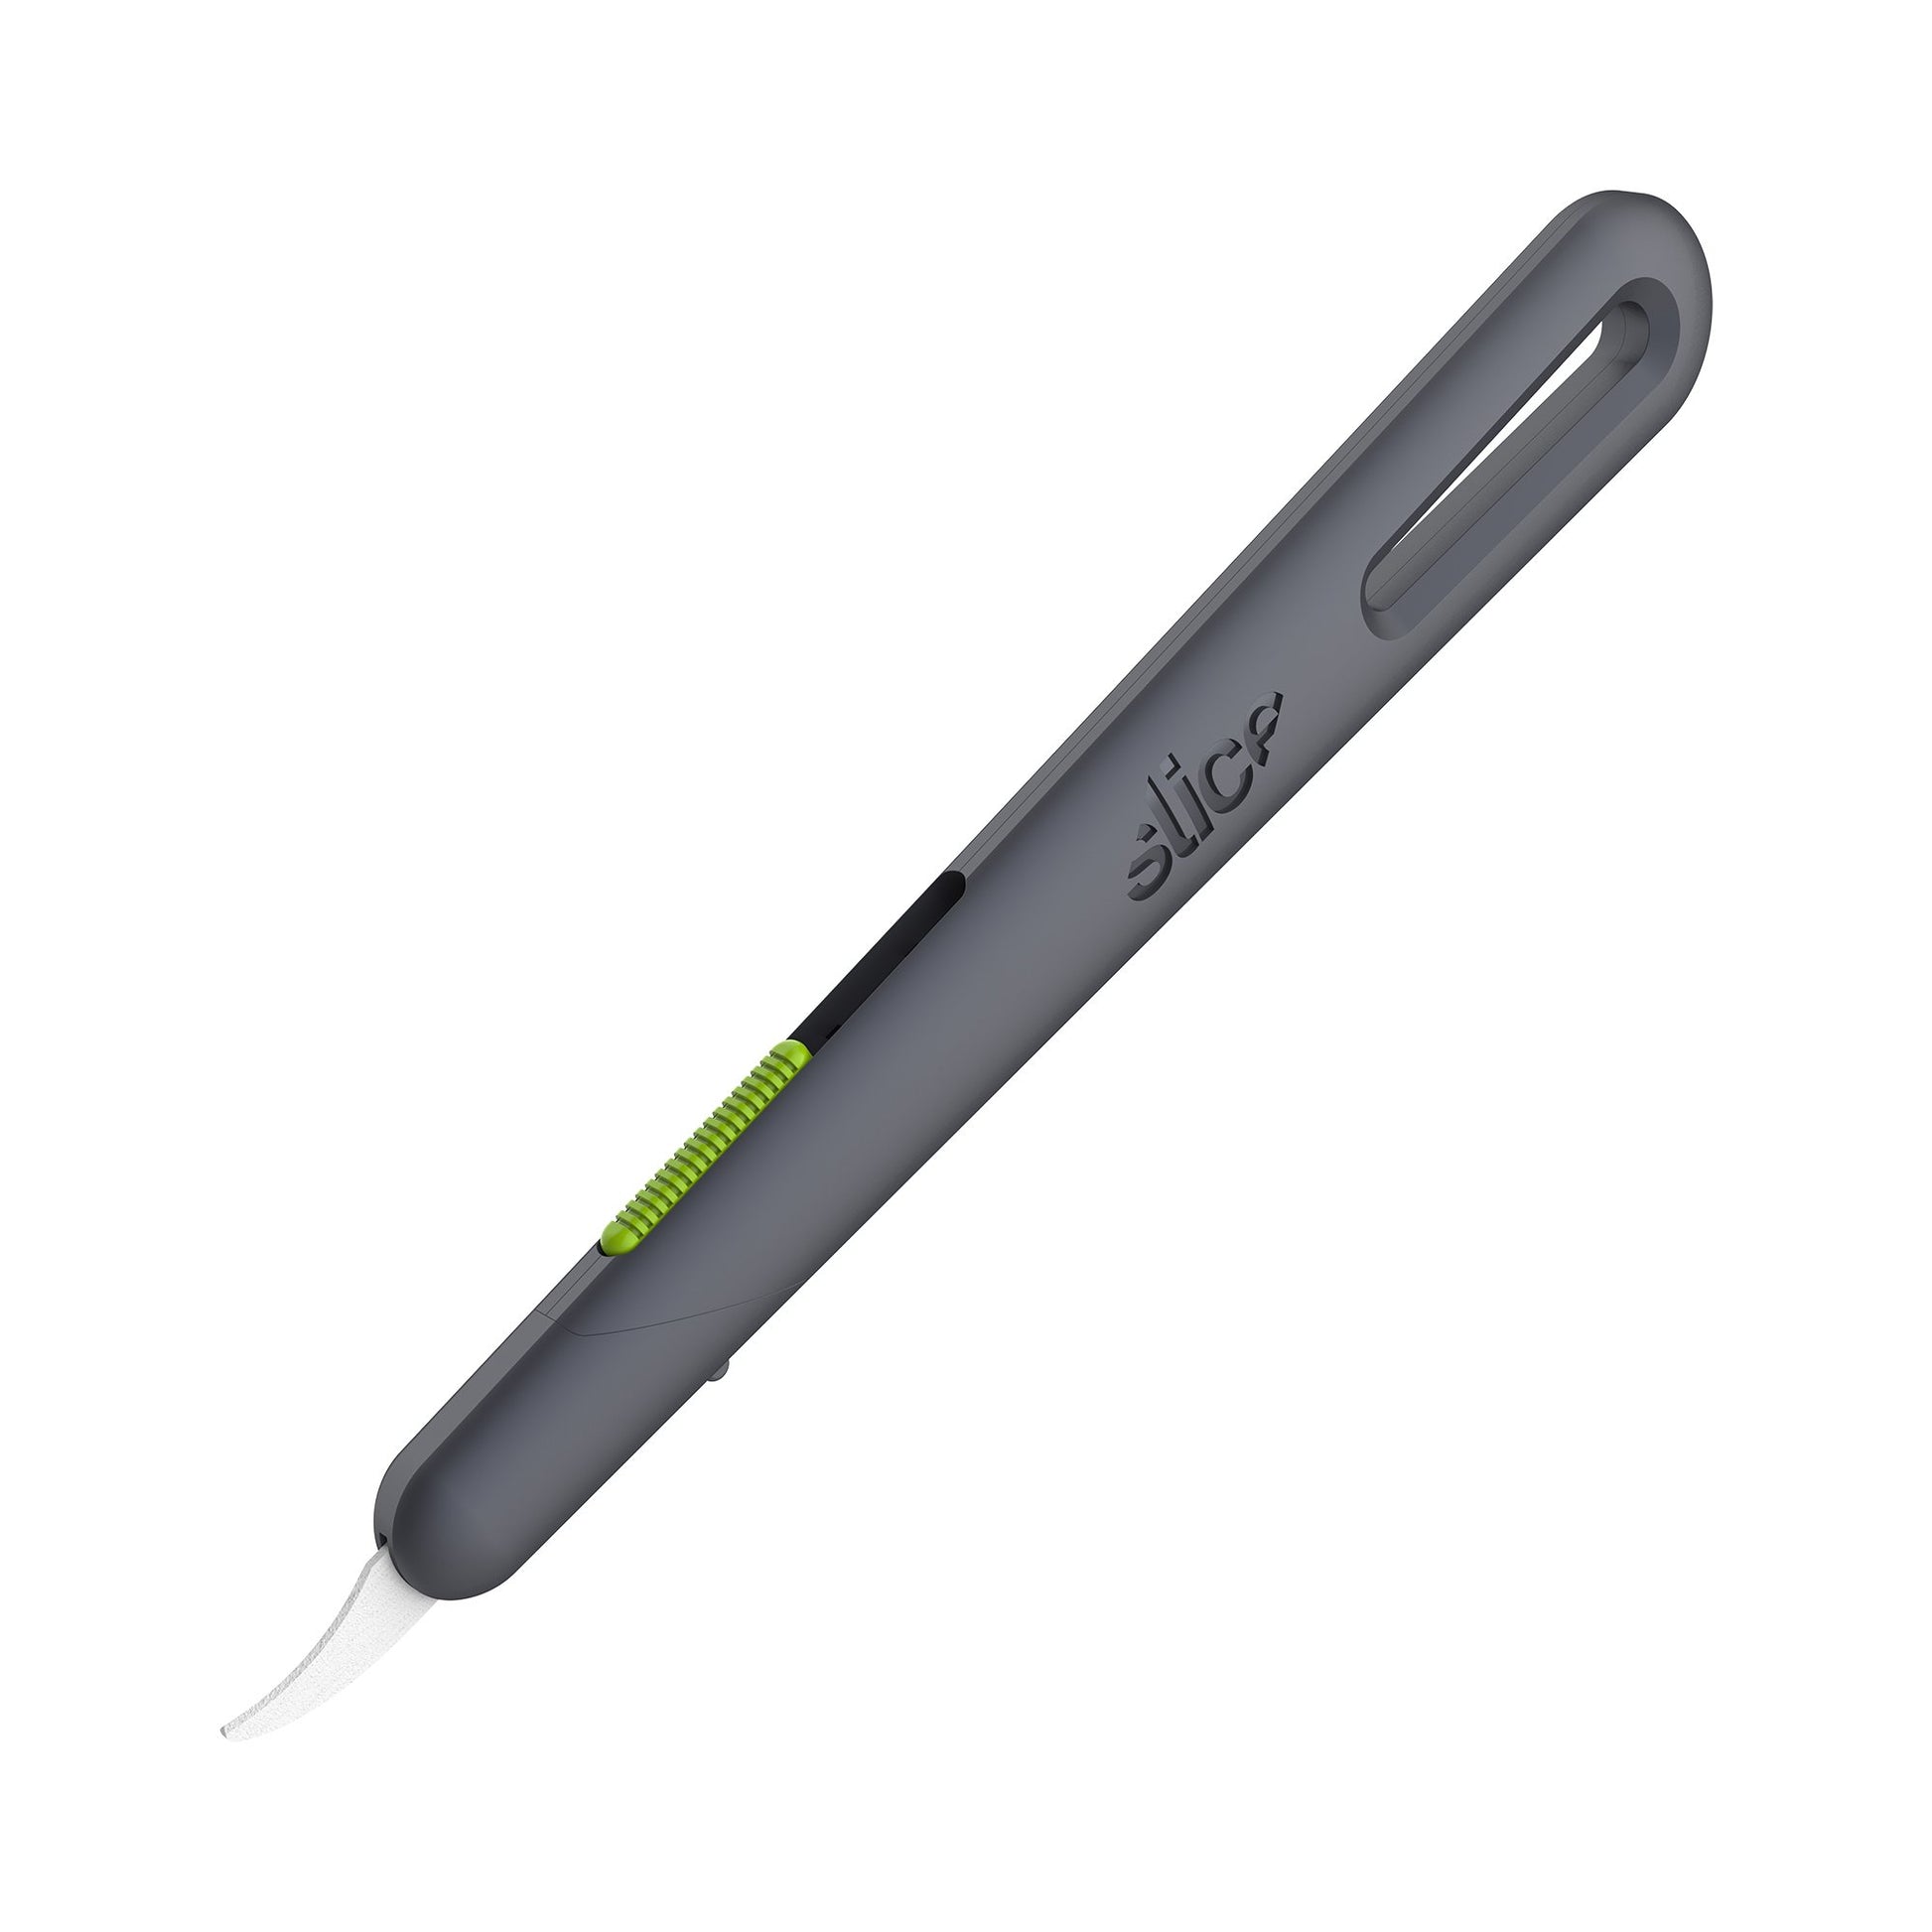
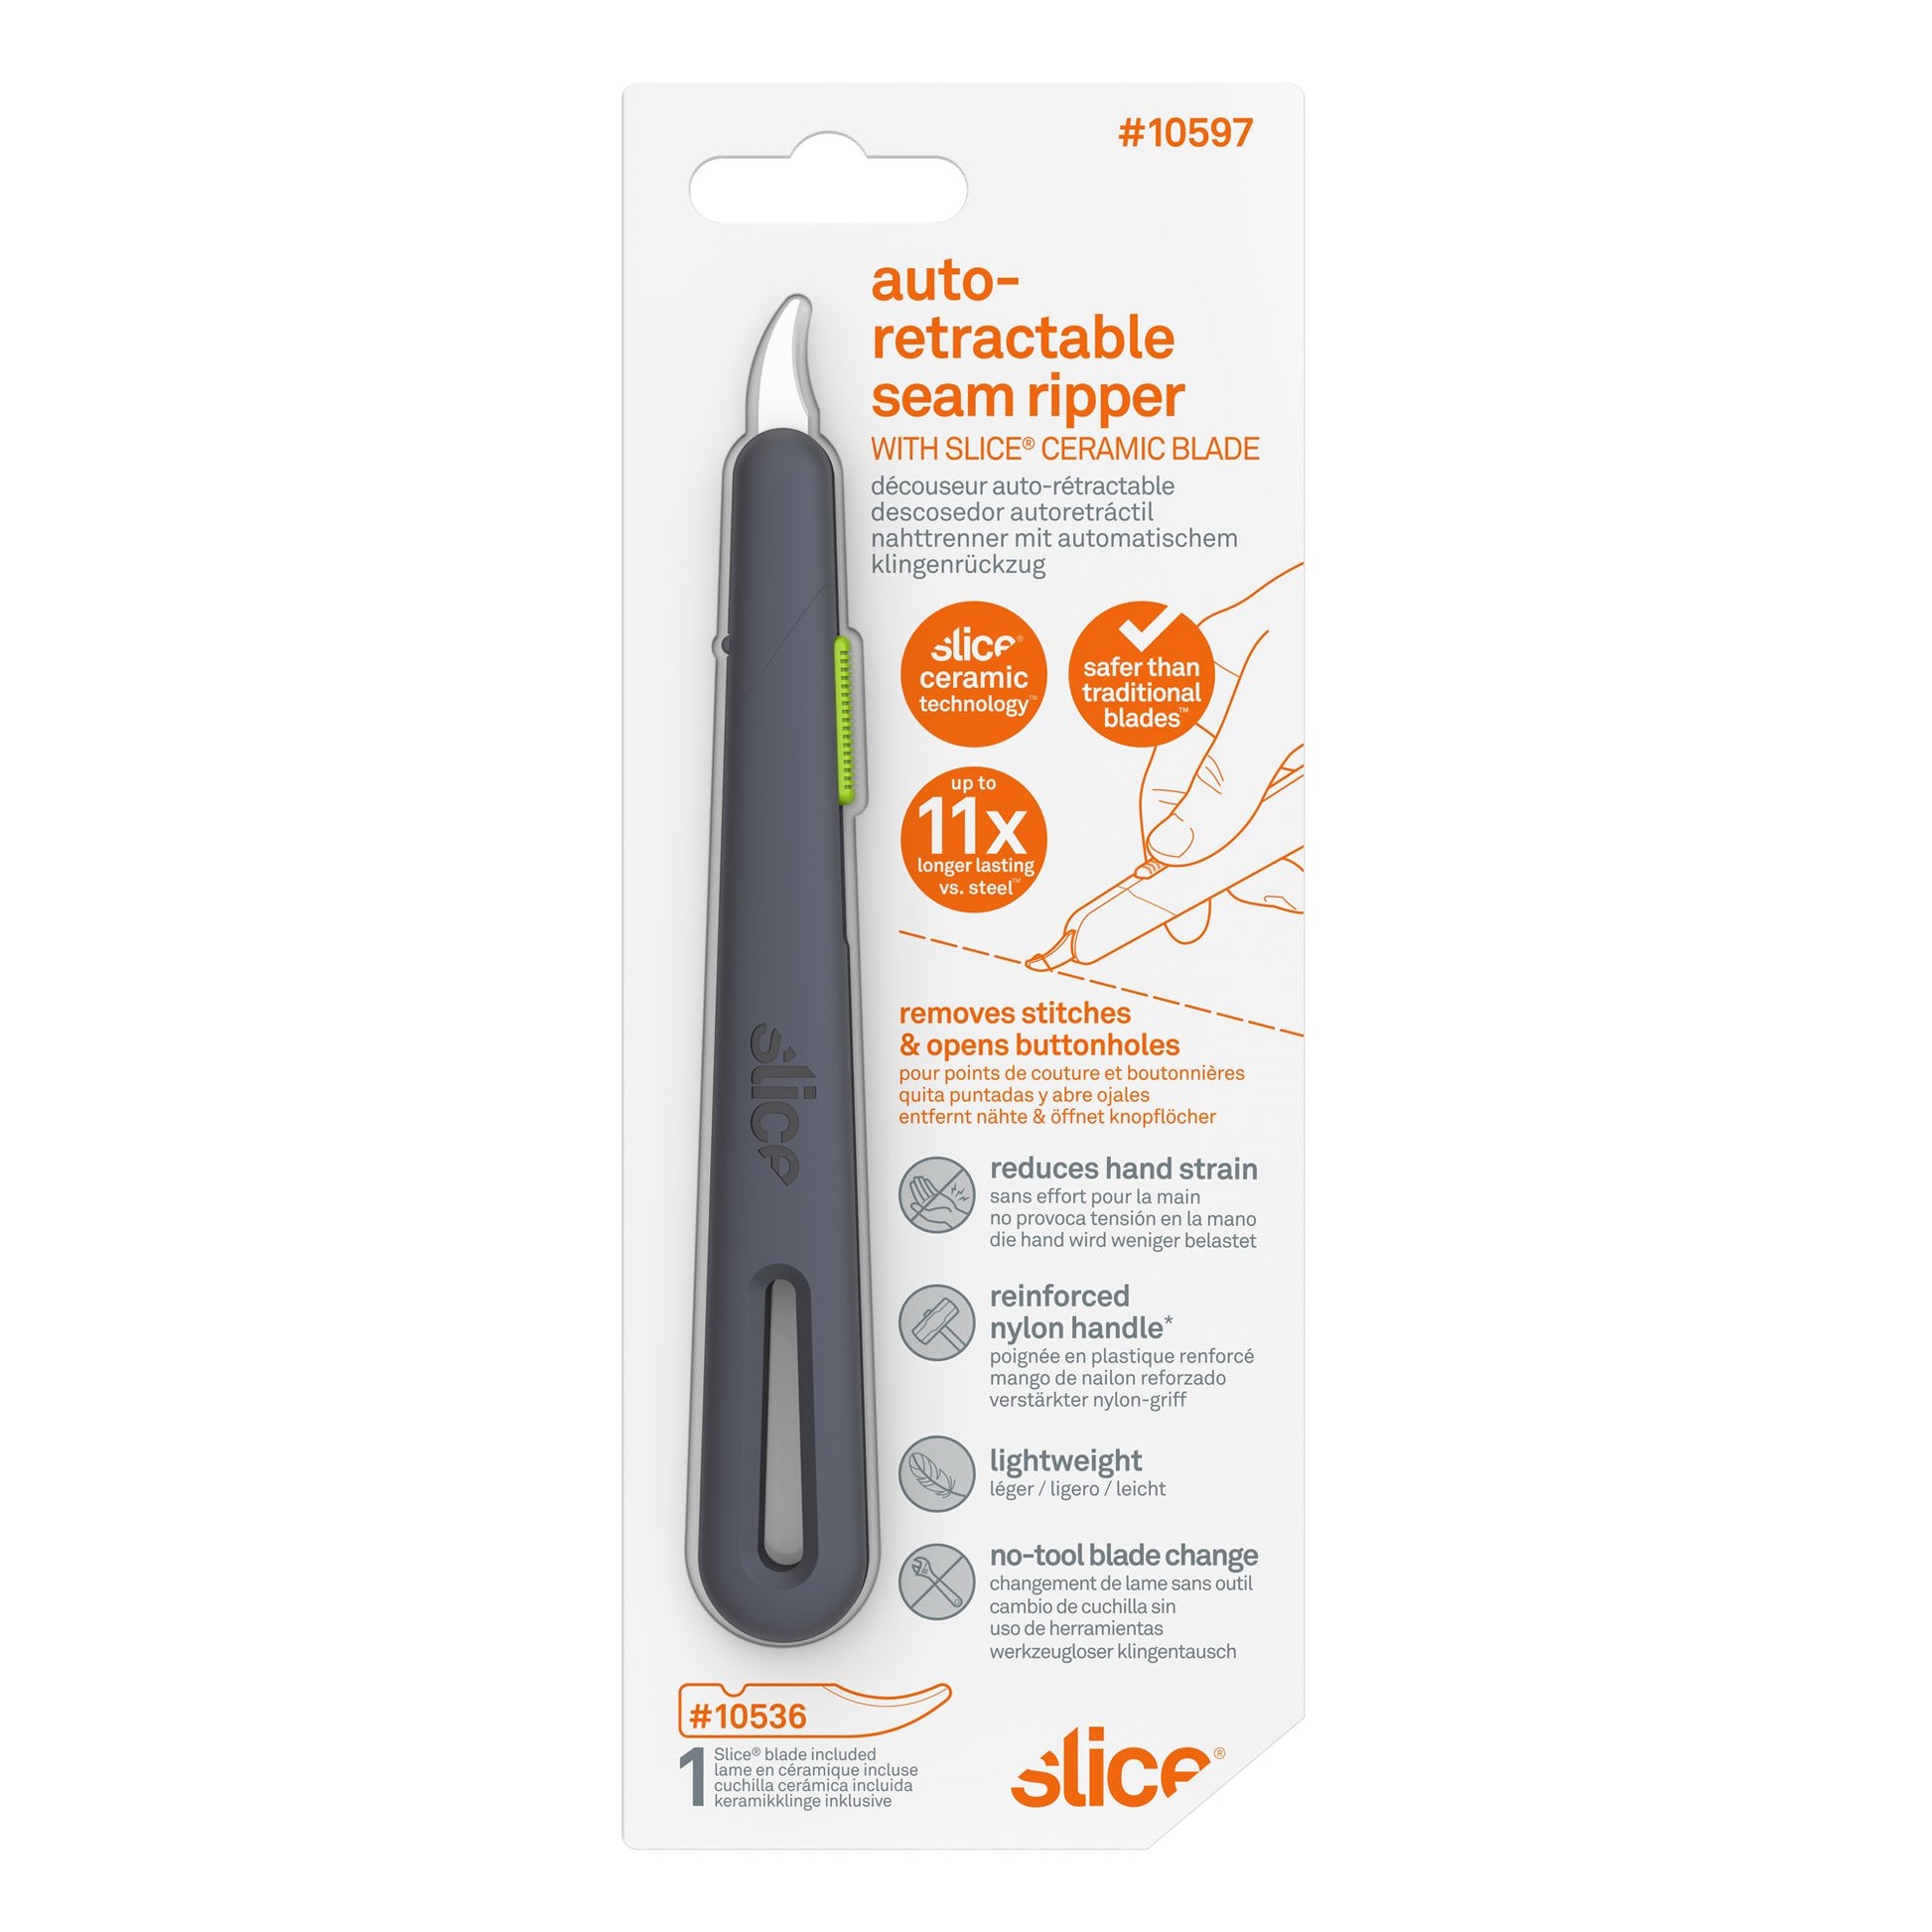
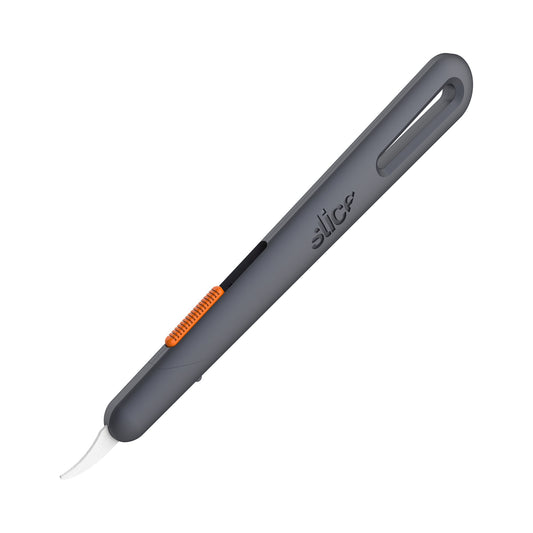
O Seam Ripper auto-retrátil Slice® 10597 é perfeito para indústrias onde lâminas fixas são proibidas ou para qualquer pessoa à procura de uma alternativa segura a um seam ripper manual. Apesar dos seam rippers retráteis estarem presentes no mercado, a Slice introduz o primeiro que usa lâminas de cerâmica avançada. E as lâminas Slice são de segurança porque têm a nossa tecnologia de corte finger-friendly®. Os cabos do seam ripper Slice têm um perfil longo e fino, e são feitos de durável nylon (preenchido com fibra de vidro). São compatíveis com lâminas de seam ripper de ponta redonda e afiada.
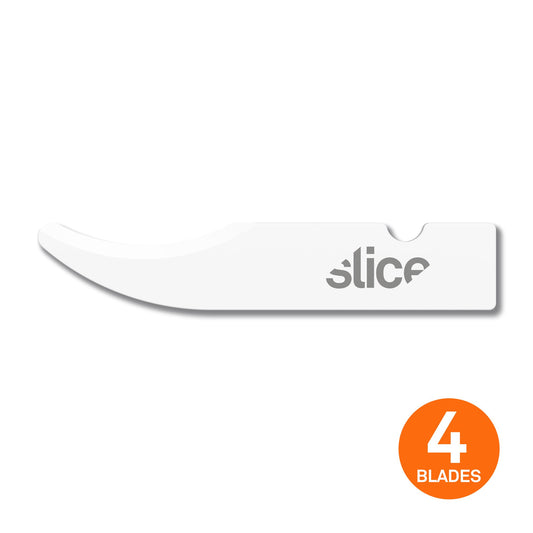
- Tipo de lâmina instalado: Lâmina de Seam Ripper 10536 (ponta redonda)
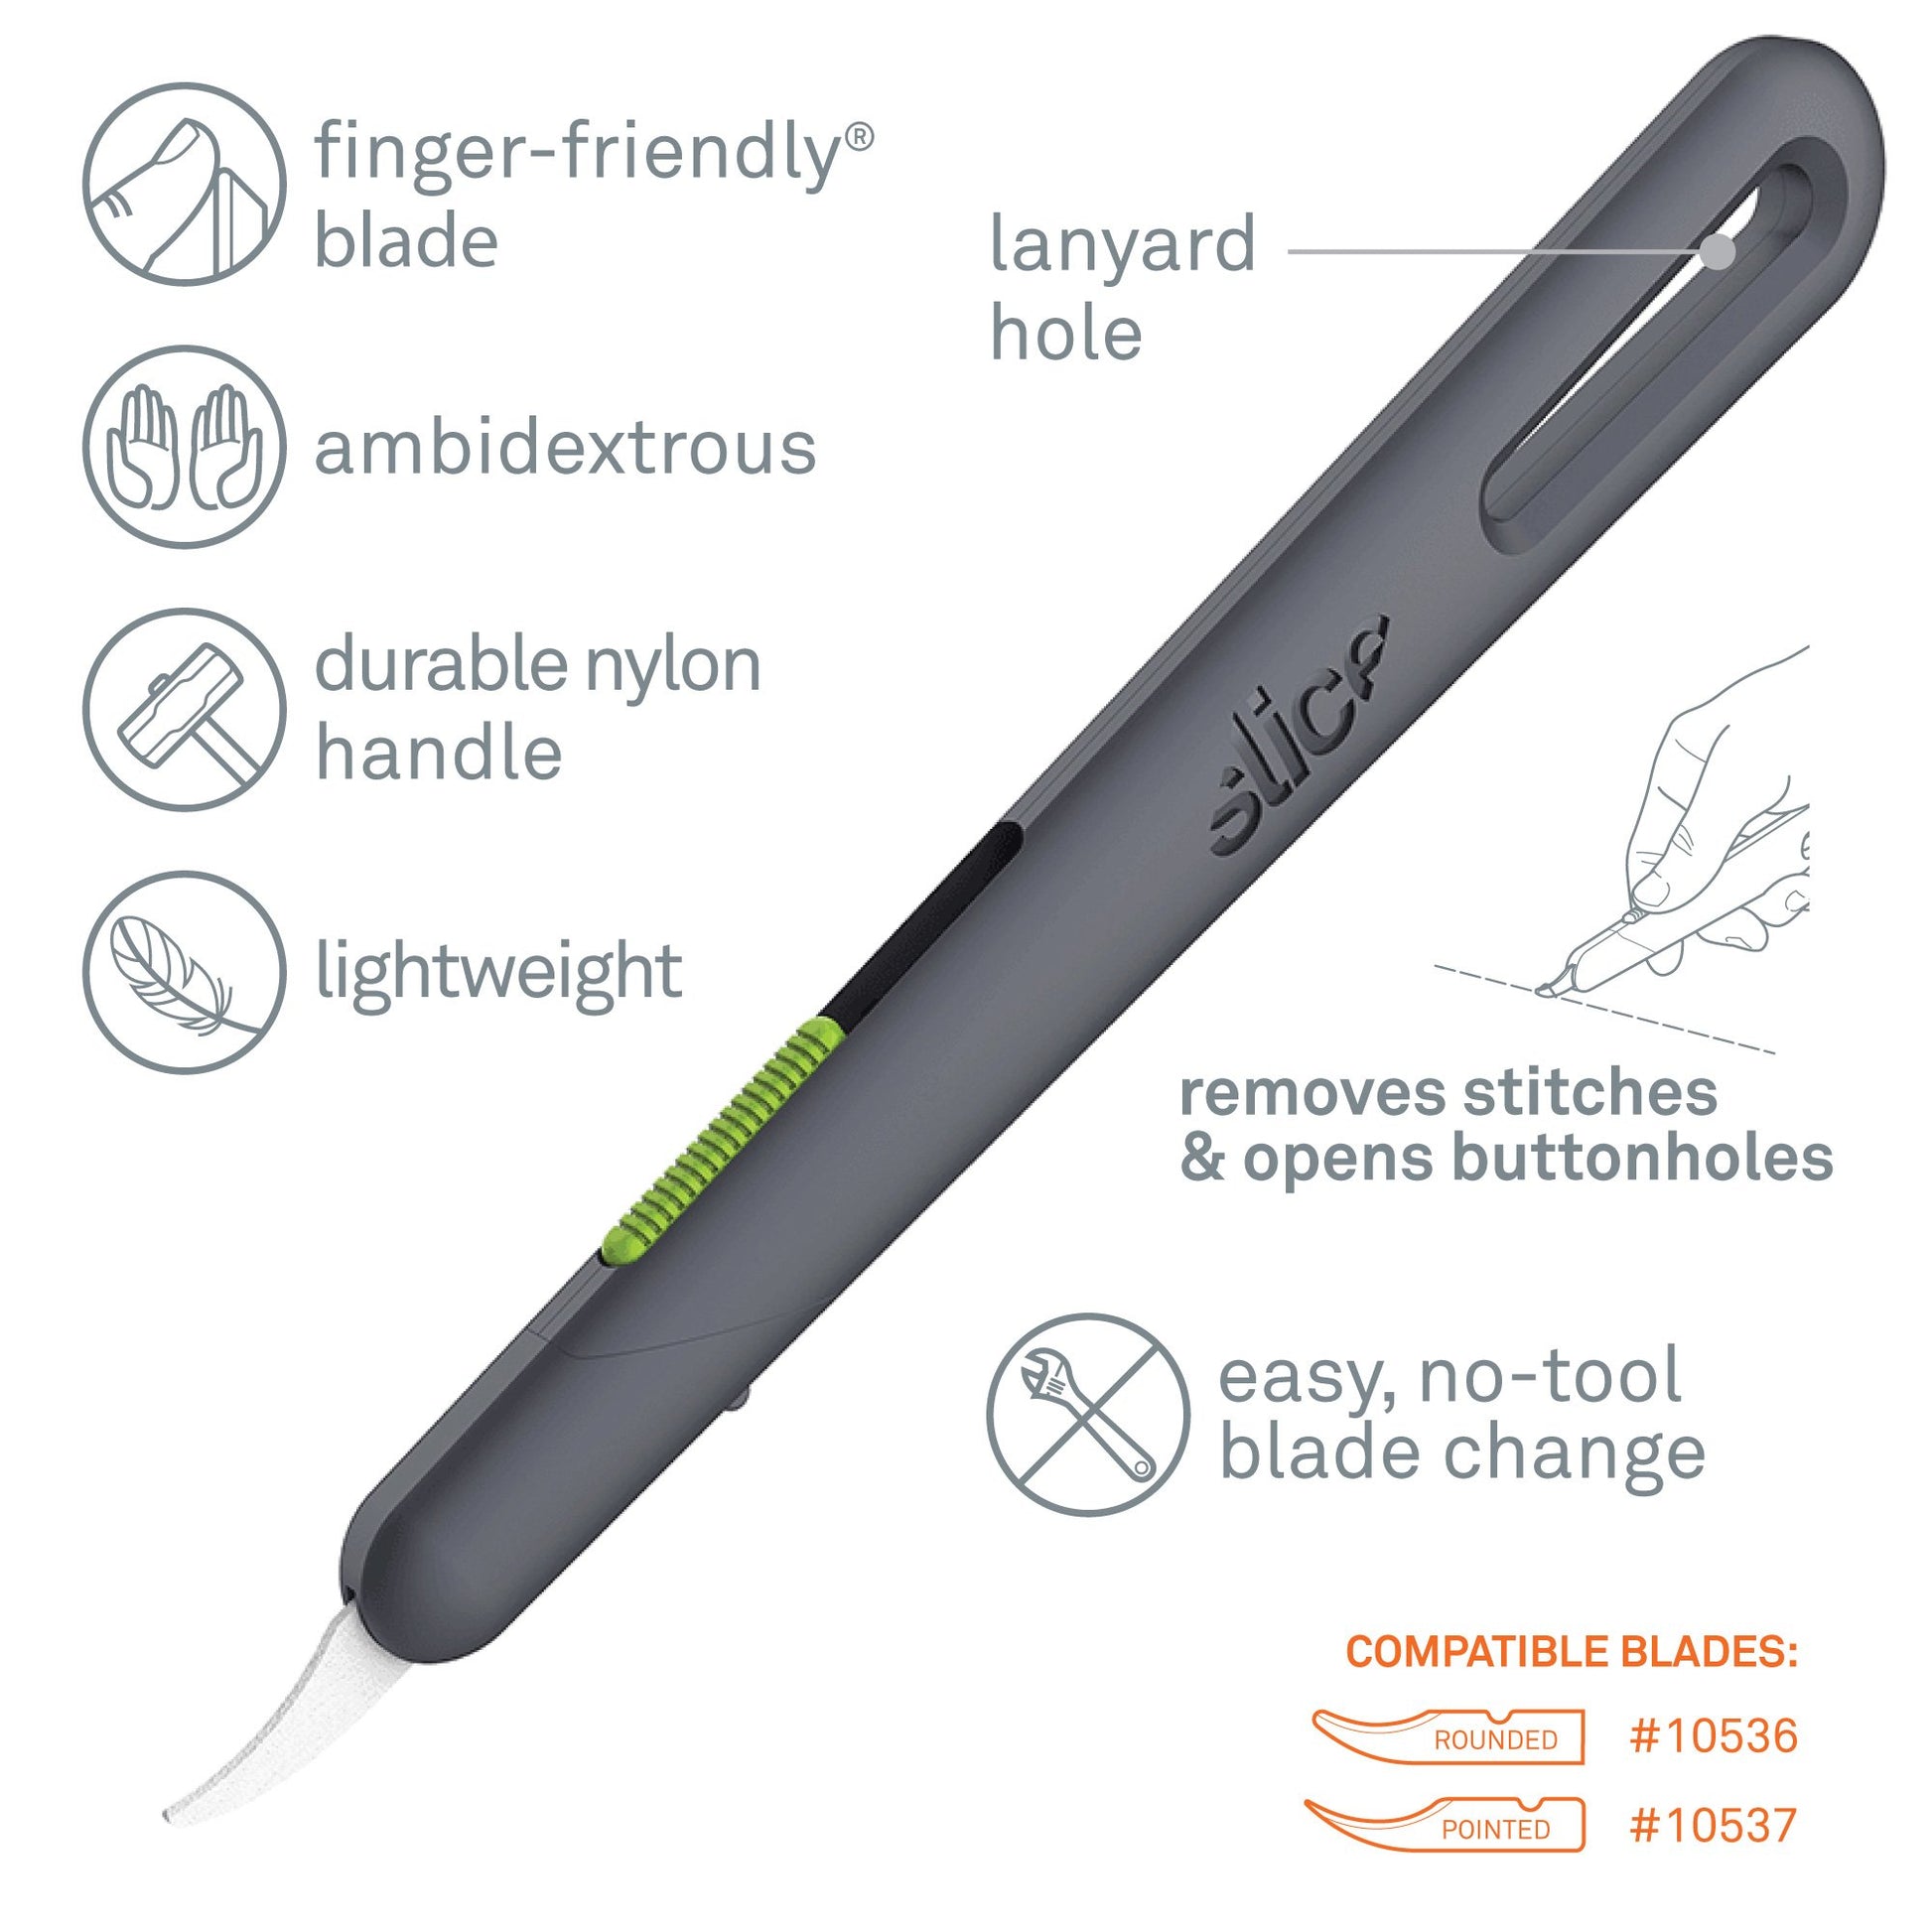
- Durável cabo de nylon
- Design ambidestro
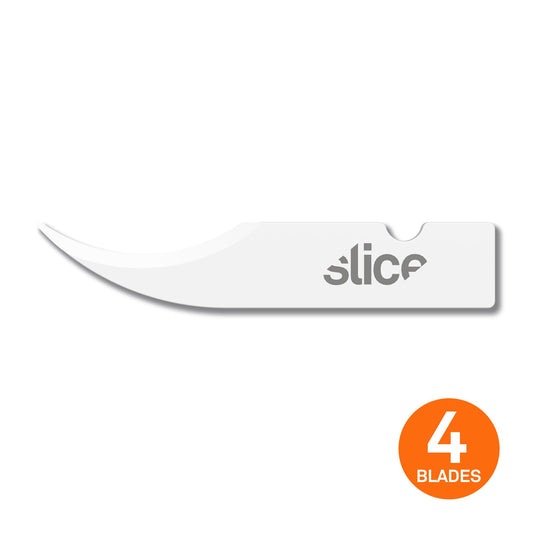
- Lâminas compatíveis: 10536, 10537
- Lâmina Finger-friendly® que dura 11 vezes mais que metal
- Lâmina quimicamente inerte que não enferruja
- Lâmina que não produz faíscas, não condutora e não magnética
- Lâmina não necessita de lubrificação
- Reduz as lesões, reduz os custos
- Troca de lâmina sem ferramentas
- SKU #10597
Great for:
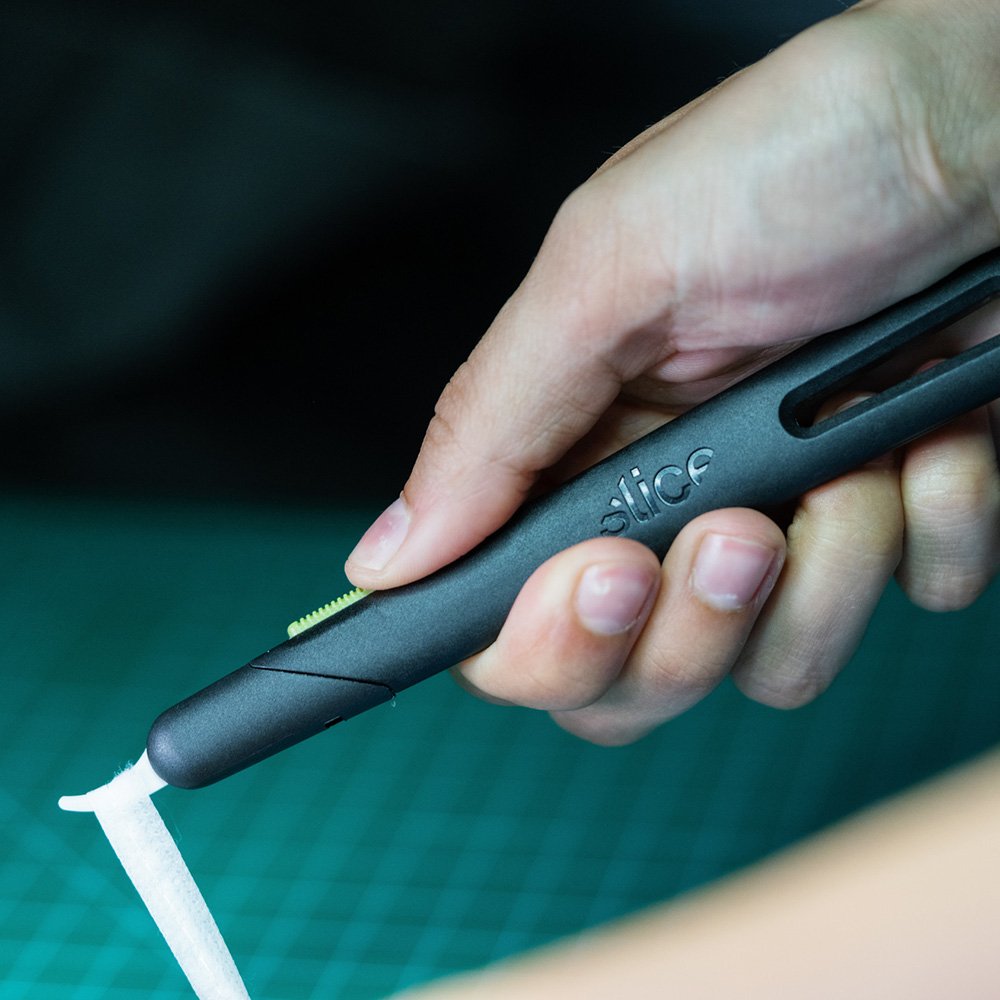
- Cutting string and thread
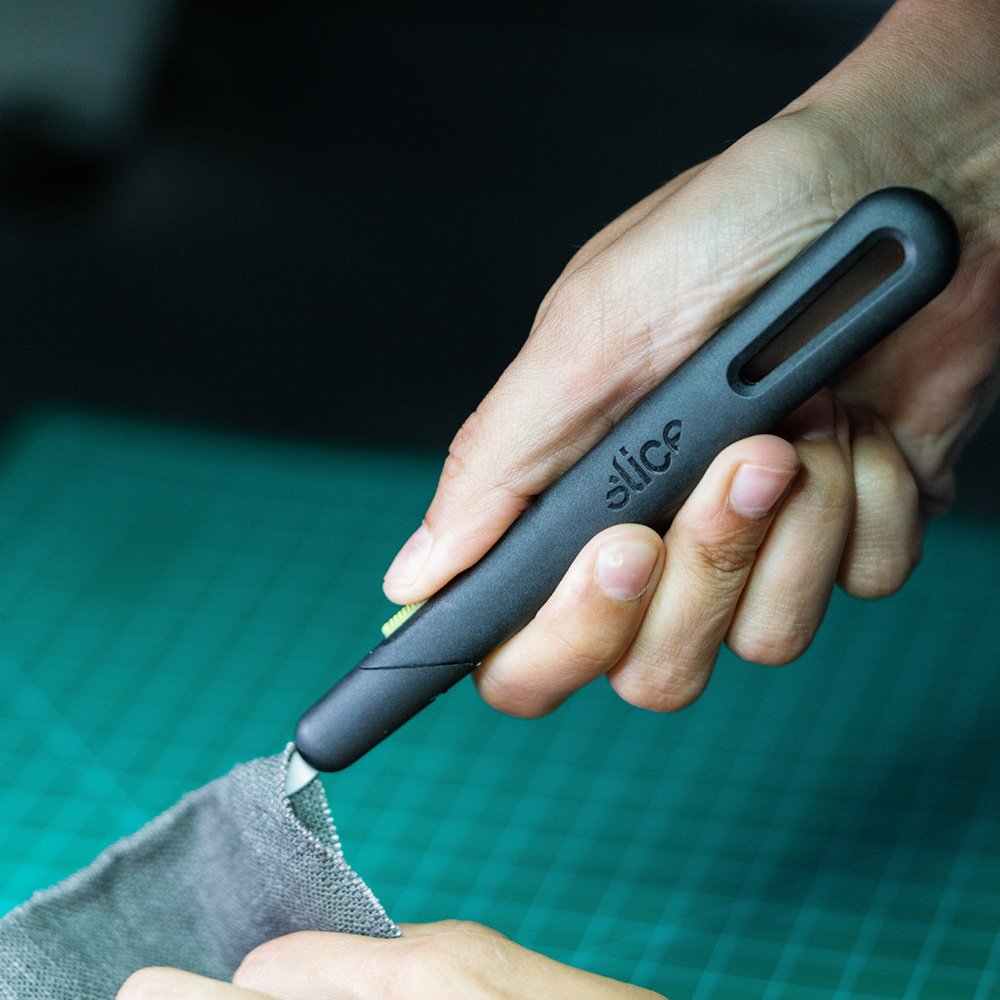
- Removing stitches and opening buttonholes
- Deburring soft plastics
- Hooking and slicing film
Product Specifications
Product Specifications
Cutting Depth:
Material: GFN, POM, stainless steel, carbon steel, zirconium oxide
Dimensions: L x W x H
Weight: 0.07 lbVideos
-
Blade Replacement for Slice Seam Rippers
Related Products
FAQ
What Are the Most Popular Retractable Seam Ripper Uses?
How Is the Slice Auto-Retractable Seam Ripper Unique?
Which Blades Should I Use?
How Do I Change the Blade in the 10597 Seam Ripper?
1) Hold the seam ripper so that the slider is on top and the small grey nub is on the bottom.
2) Make sure the blade is fully retracted, as the blade-change cap cannot be removed when the blade is extended.
3) To remove the blade-change cap, push in the grey nub with your thumb and tilt the bottom of the cap away from the handle, as though there is an invisible hinge between the top of the cap and the top of the handle. Pull the cap away.
4) Once the cap is removed, extend the blade fully and remove it from its (green/orange) housing.
5) Place the new blade in the housing, ensuring that the notch lines up properly.
6) Retract the blade fully and replace the blade-change cap by hinging it back on with the same angle you used to remove it.

